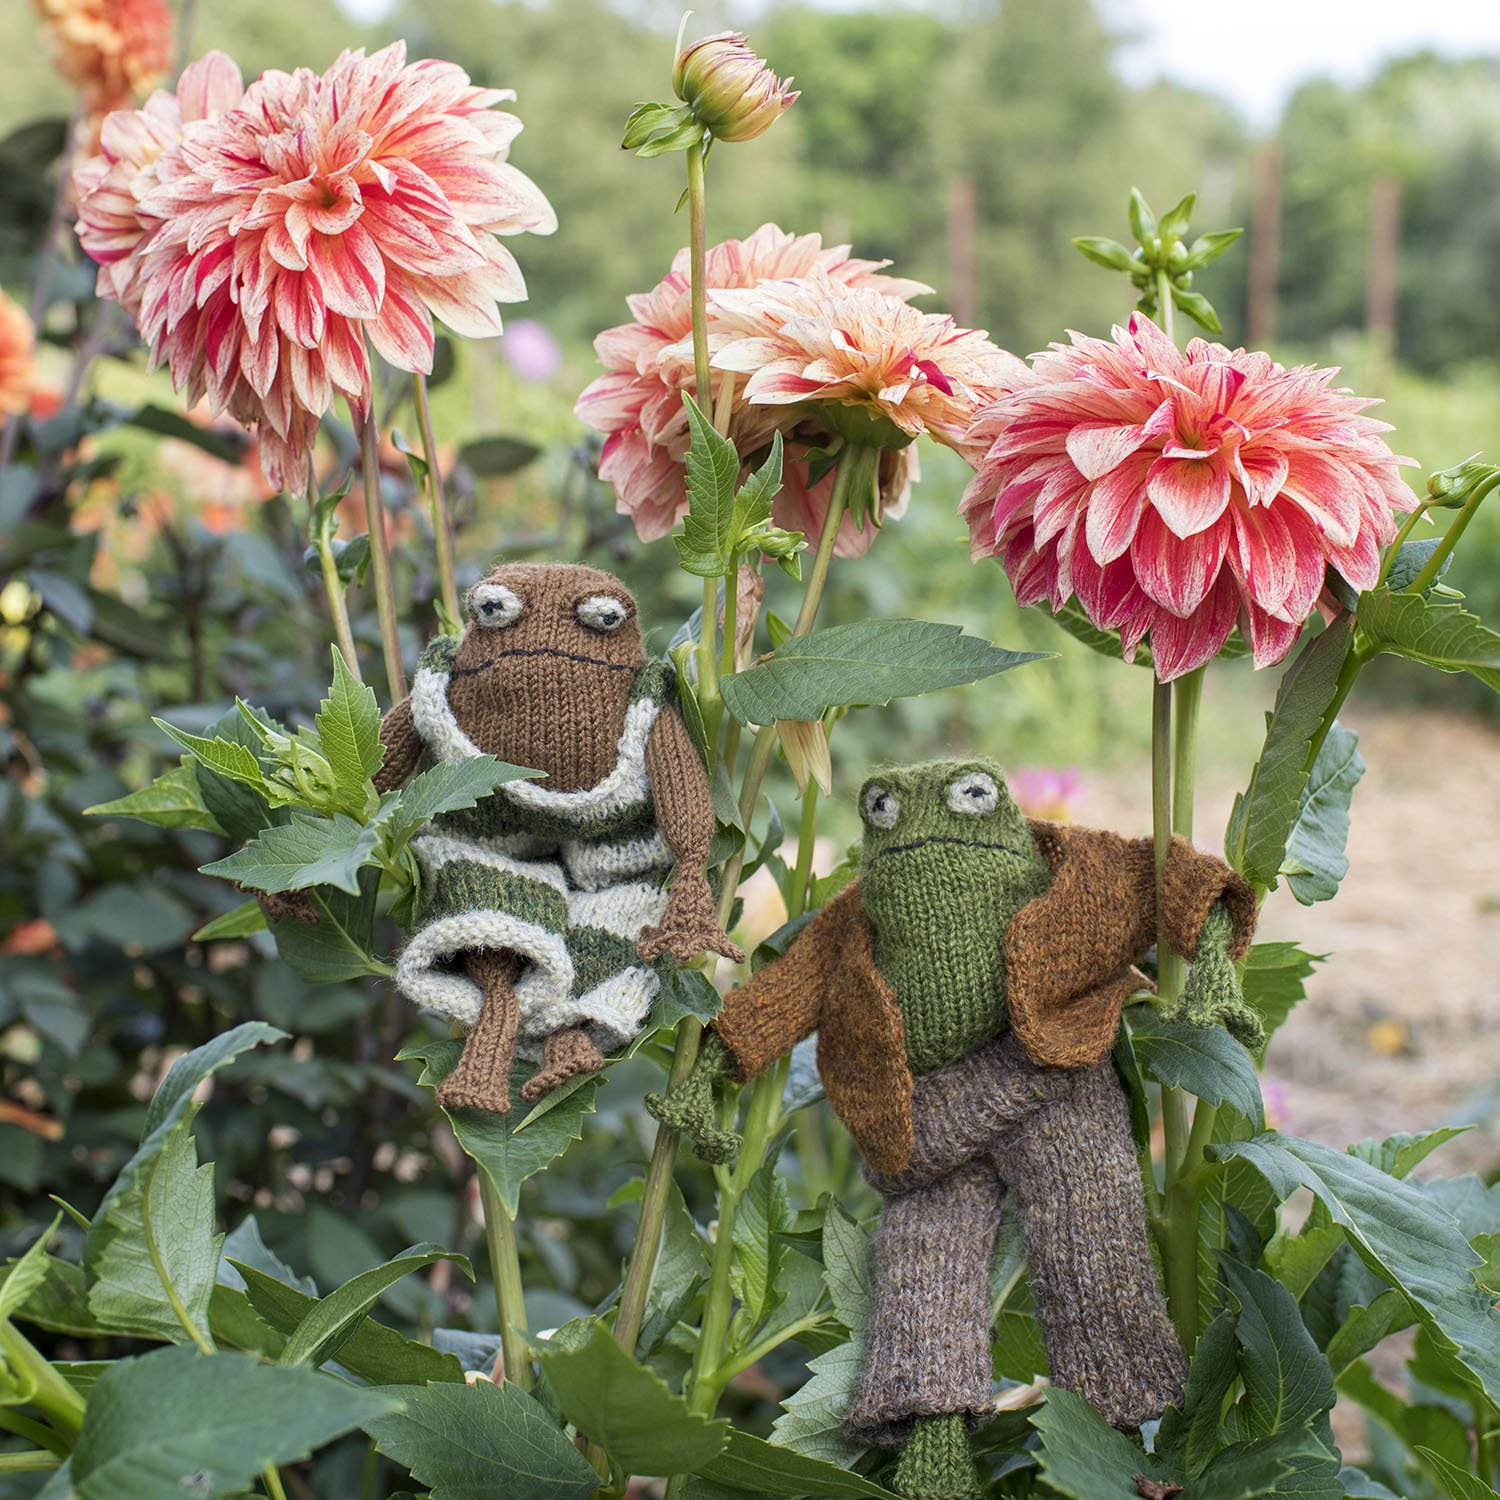
I made a second set of Frog and Toad stuffies for my younger grandsons.
Frog and Toad had a long visit at grandma’s house before going to live at their new home and are happy to finally be reunited with their friend Lowly Worm.
I made a second set of Frog and Toad stuffies for my younger grandsons.

Frog and Toad had a long visit at grandma’s house before going to live at their new home and are happy to finally be reunited with their friend Lowly Worm.

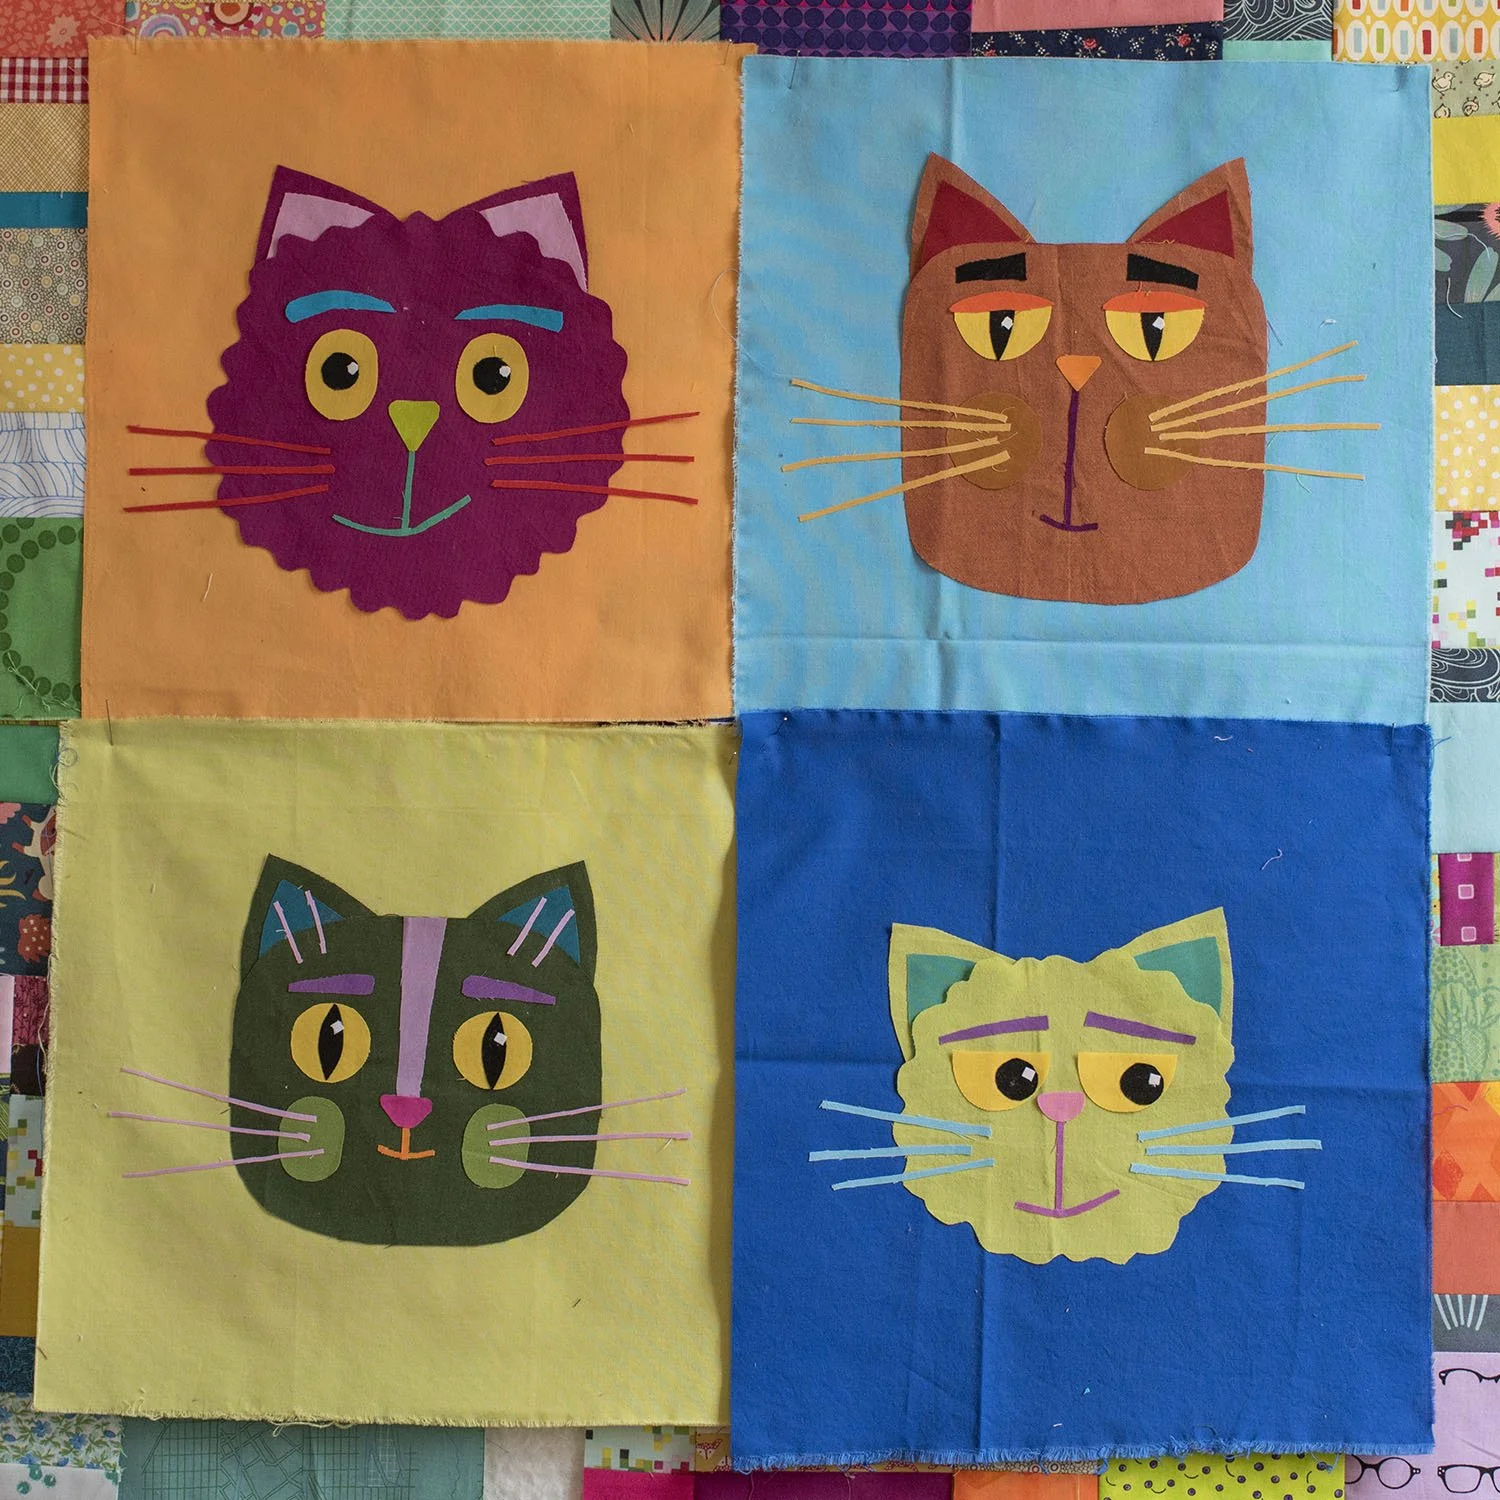
Miss P loved the first cat face I made in the Making Cat Faces class with Melissa Averinos so much that I made it into a pillow for her.
Those quilting lines are 1/16th of an inch apart, the closest I have ever done matchstick quilting.

I’m still trying to decide what to do with the other 16 faces I made. I could make individual wall hangings, four larger wall hangings with four faces each or go all in and made a larger quilt. My concern with making a larger quilt is that the face parts which are currently held in place with glue stick. would fall off or move before I could get them sewn down. What would YOU do?
I gave myself a creative gift for my birthday, Melissa Averinos’ Making Cat Faces class. The zoom workshop was a blast!

My first cat face was pretty simple but I quickly got in the groove and had fun creating different facial expressions.

My two oldest grandsons were visiting by the other day and were interested in the cat face making process. They chose colors, suggested shapes, and helped arrange the face parts. My oldest grandson cut those adorable eyebrows shown below and I LOVE them.

Below are the faces we made together. See that green cat in the upper right corner? My grandson said the mouth should be a smile shape but with a turn down on the side. Just like that! We had a fun time creating these faces.

I made a few more and tried a couple of fluffy faces.
Here’s the whole cat collection as it stands now. I’ve put them away for a while to get back to other works in progress.

I made Lowly Worm for my almost two year old grandson who just became a big brother. It is made from a pattern in a vintage Richard Scary book. It’s made of felt, wool stuffing in the head and pipe cleaners in the body so that it is poseable.

I made another one of these for another grandson’s birthday in January.
Here’s a link to the blog post containing the pattern that I used.
In September I attended the last of the Holly Girls quilting retreats. Pat and Sue took over Gwen’s Beaver Island retreats when she retired 9 years ago. I have been attending this one week retreat since the 1990s.
I completely unplug while I am there and focus only on the sewing and creating. It is always a much needed brain switch for me. This little bear paw block was the first thing I made this year and it helped my brain get in the groove, so to speak.

I quickly moved on to other tiny things. These purple and pink bits went into that 7” block you can see below.

Stars are always fun. These cuties finish at 1.5”


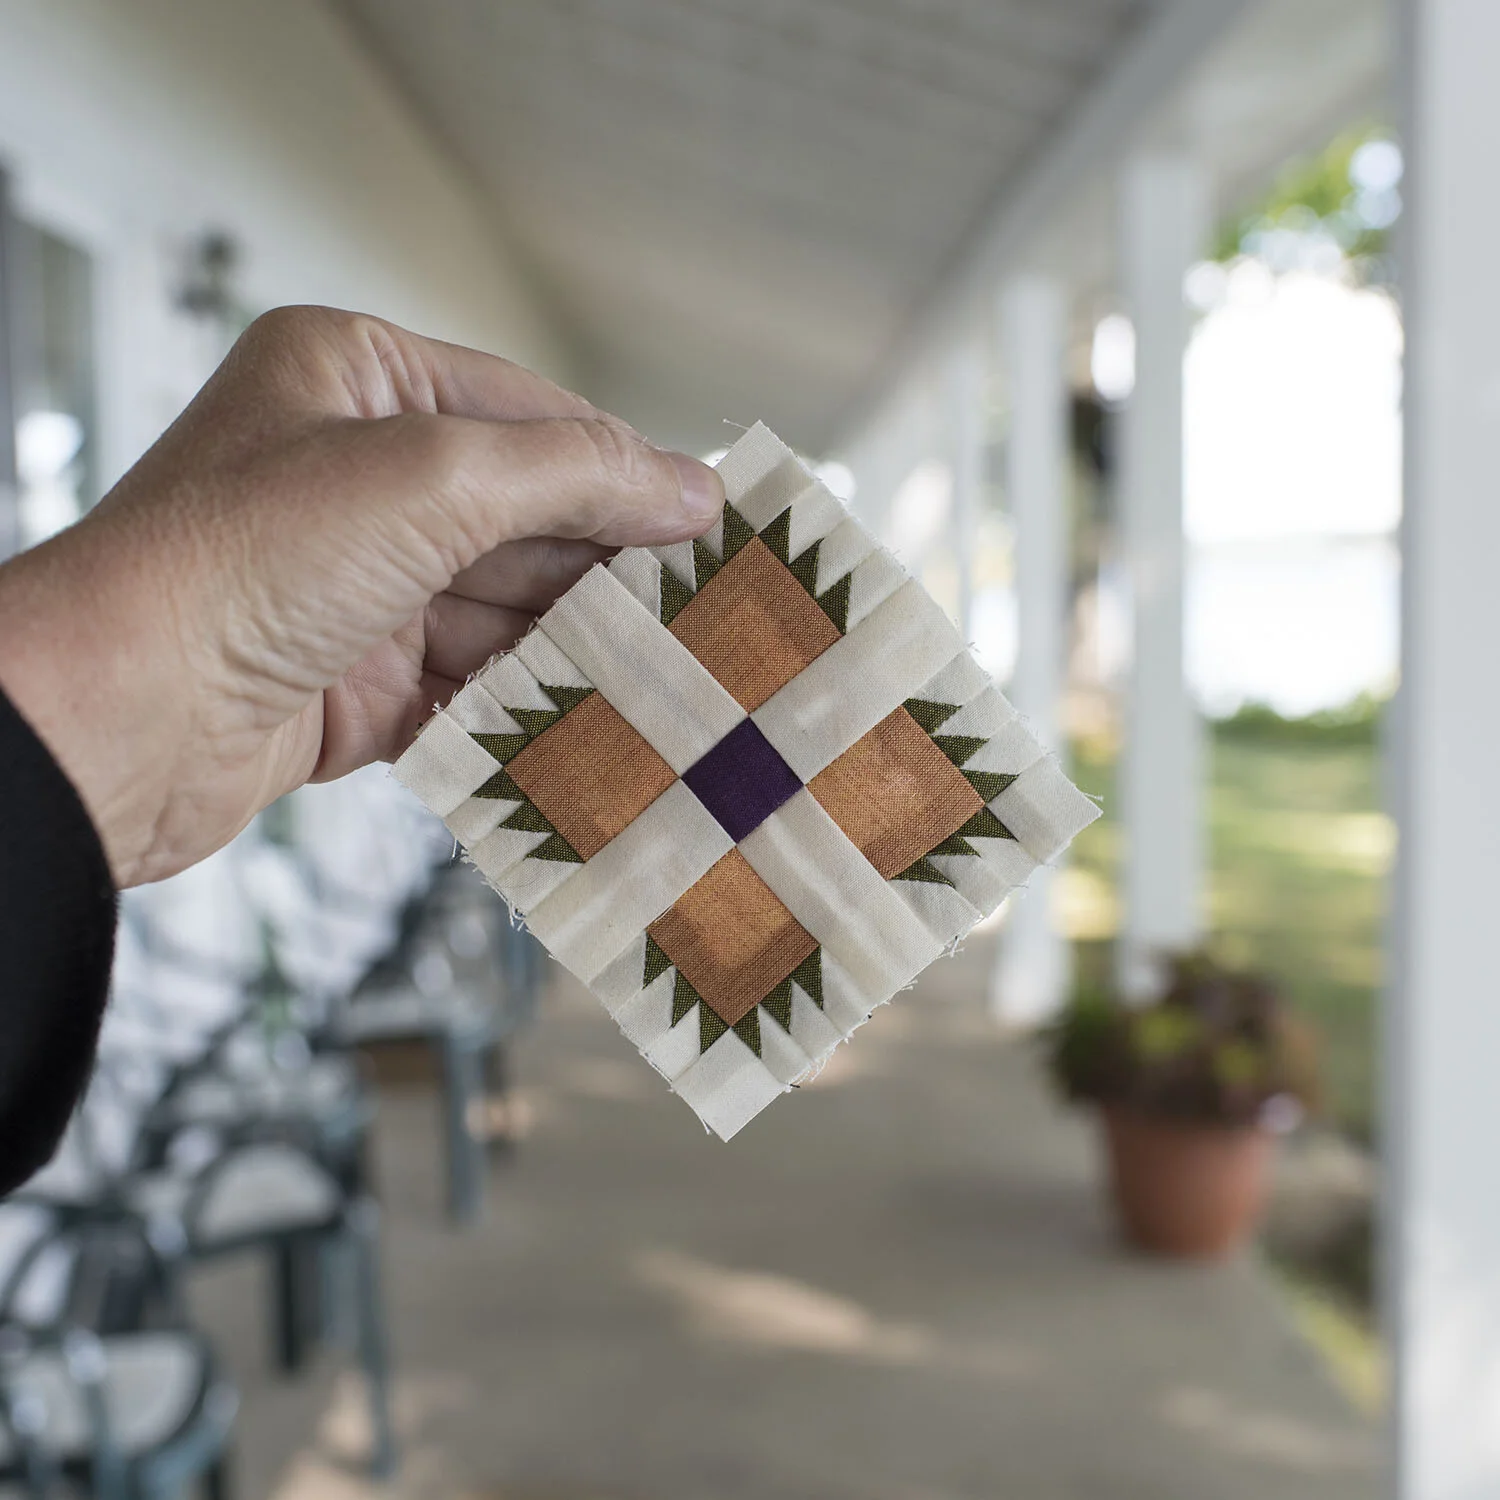
The last finish of the week was this bitty 4” block comprised of 168 pieces. I am in love with it.

I finished knitting this pair of socks earlier in the summer. The yarn is creates an ombre effect as you knit.


Because of the patterning in the yarn, the color change went from the lightest purple and got darker at the toe of the first sock. The second sock started dark and changed to a lighter blueish purple. I love them, but when I wear them it kinda looks like my socks don’t match.
Silk yarn shawl on silk drapes from the thrift.

Ravelry tells me I started this shawl in November of 2018. It is now finished and just needs the yarn ends worked in. The silk drapes are waiting to be turned into a garment of some sort by Phoebe.
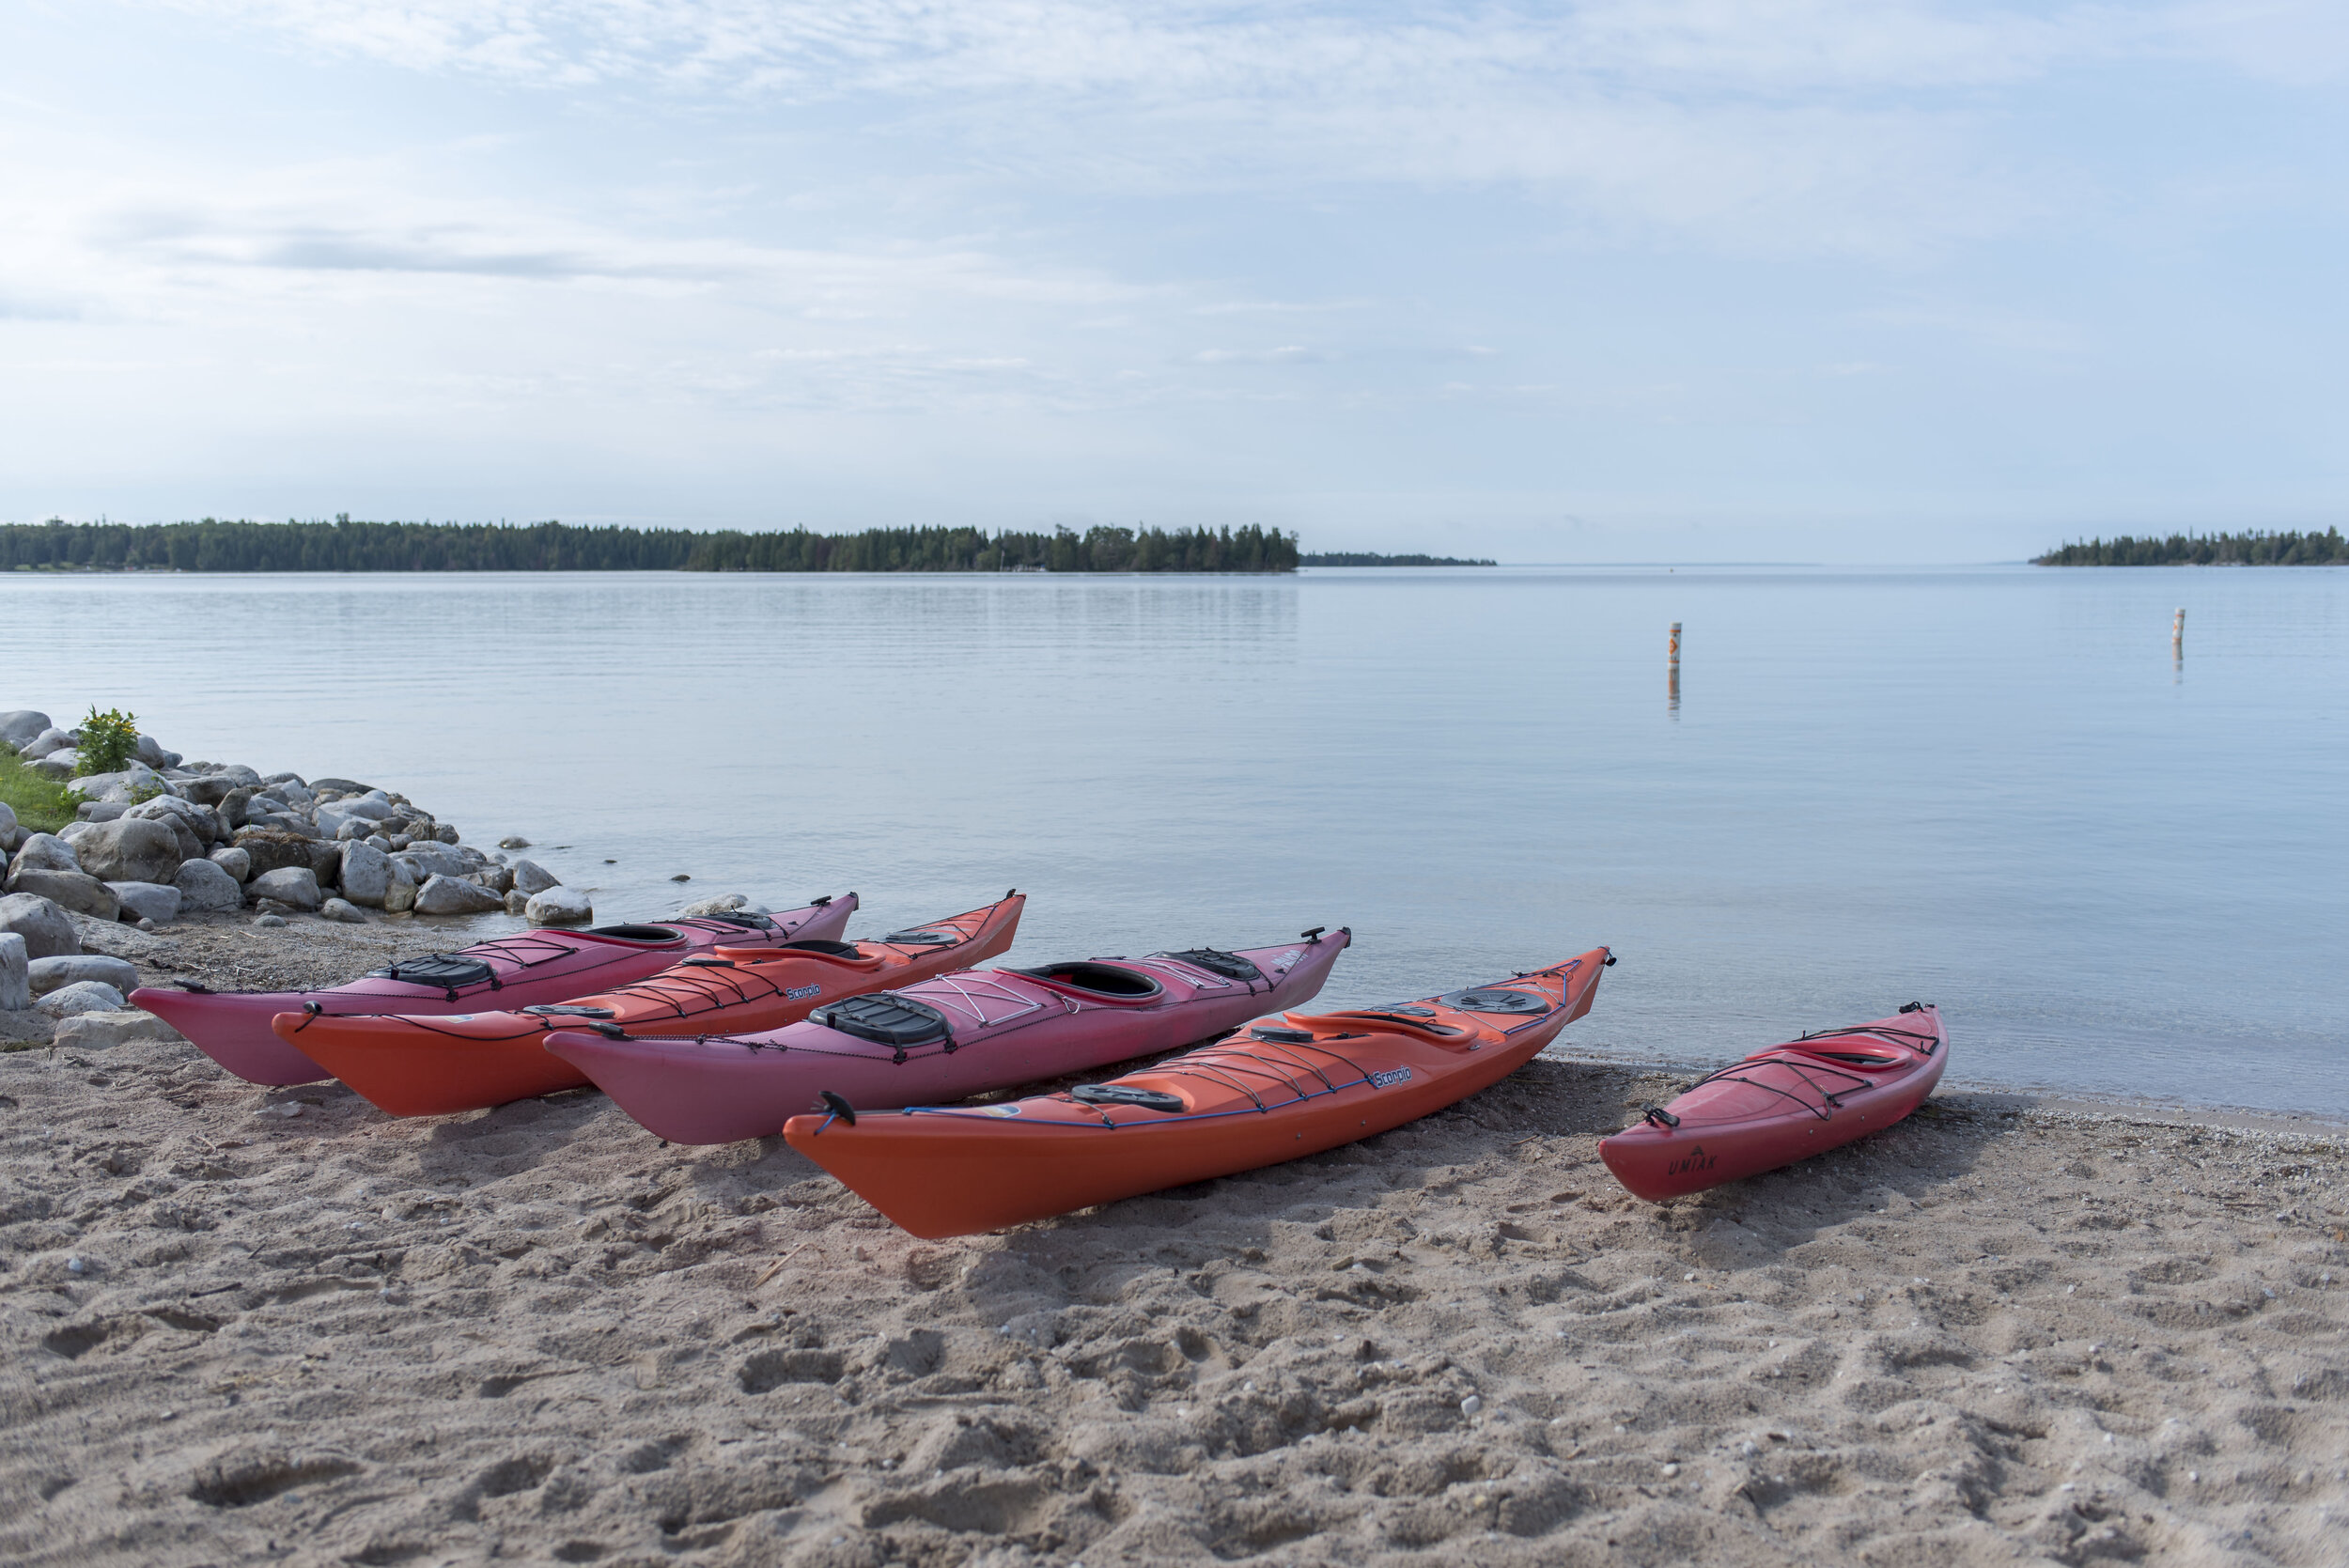
We had a pretty quiet summer here in Michigan. We did some kayaking on Lake Michigan and Lake Huron.


Miss P has been sewing up a storm this summer. Her most recent finish is this paneled skirt.

She’s been researching vintage patterns and wanted to look through my pattern collection. After digging through the closet and getting them all out we decided we should make a Pinterest board of the patterns we have. Some of them were patterns I made for myself back in the 1970s and 80s. Some belonged to my mother-in-law and many of them were thrifted years ago when you could find old patterns for 10 cents a piece. Those were the days!
She used to turn up her nose at some of my 70s patterns but this time around she recognized one after watching some YouTube videos by Rachel Maksy, who often uses this pattern to make swooshy skirts.

We’ve been trying to use fabric that I already have in the house so she chose this stripe from the stash. It still had this “Wrinkl-shed” tag pinned to it. If it was advertised in LIFE magazine it must be good, right?


We just finished binge watching all of the seasons of the Great British Sewing Bee so she had pattern matching on the brain.

She is quite pleased that she got the stripes to match at ALL of the seams.

The original pattern is made from 12 panels that create a full circle skirt, but she did not have enough fabric to cut 12 panels. She made a “muslin” mini skirt out of an old sheet and found that ten panels fit her perfectly. She cut her own waistband and added a zip to finish the skirt.

She is very excited about this new super-swooshy addition to her wardrobe!


In addition to the Crewel Embroidery class, I took a Goldwork class through the Royal School of Needlework.
The first step was to make a goldwork foundation.

Next, the gold threads were added.


Instagram Photos