Uncategorized

I'm a BERNINA girl.

My parents bought me my first sewing machine, a portable singer, back when I was in high school. Years later, in 1989, my husband surprised me on my birthday with a BERNINA 1230. He even called my boss and arranged for me to have the day off of work  so I could stay home and sew on the brand new machine!  To this day it's one of the best and most used gifts I've ever gotten and speaks to how well he knows me.

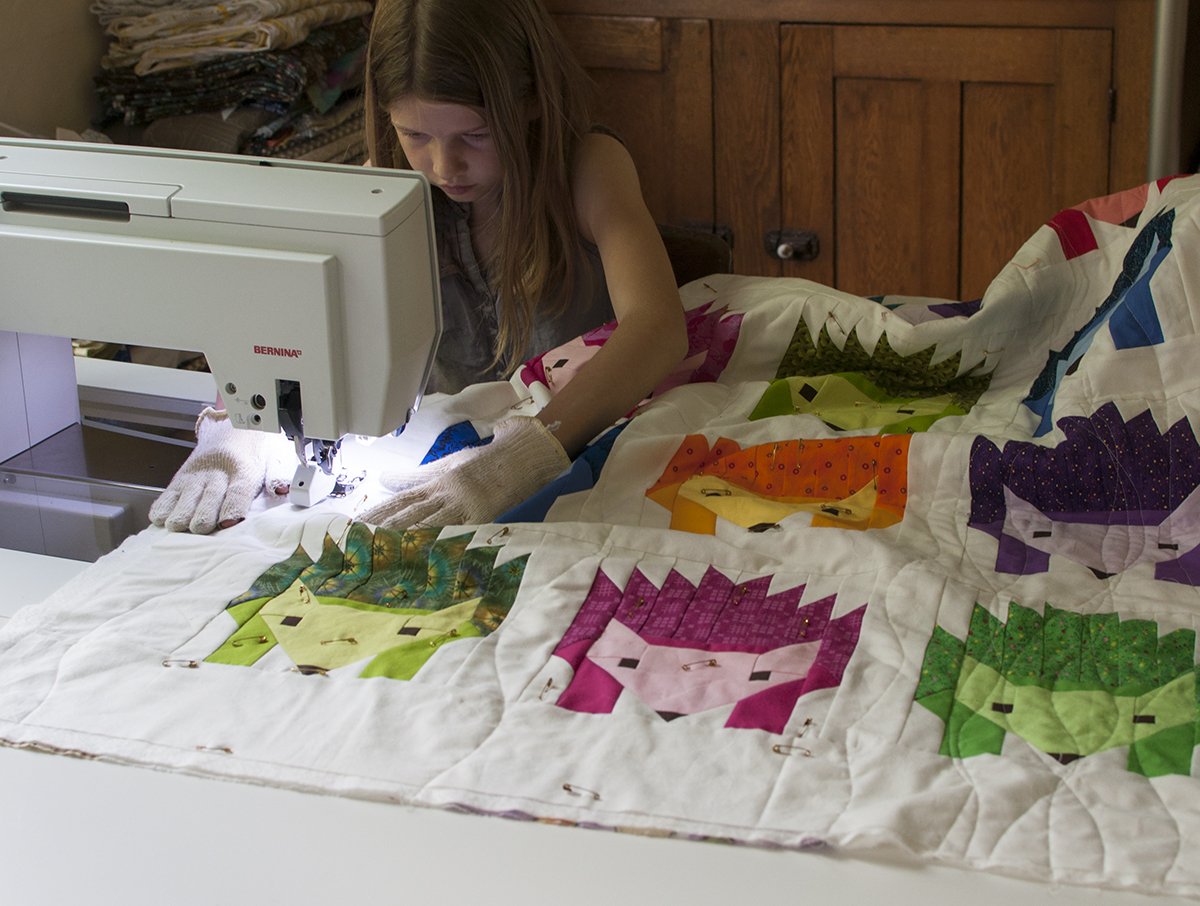
A few years ago I bought myself a BERNINA 820. The larger harp space makes quilting SO much easier. This machine also came with a table so that the machine bed is flush with the bed of the sewing machine. That was a game changer for me as far as machine quilting. The quilts no longer get caught on the edge of the machine. My daughter also enjoys sewing on it.My old 1230 now lives with my son and daughter-in-law and is still going strong. My daughter-in-law is enjoying making little baby clothes for my grandbaby. She and my son just recently worked together to make an amazing queen size spiderweb quilt for their son's great grandmother.

The 820 is a bit big to take anywhere so I have also invested in a newer machine for taking to teach and on retreats and sew-ins. This machine has narrow set feed dogs and is perfect for tiny piecing.

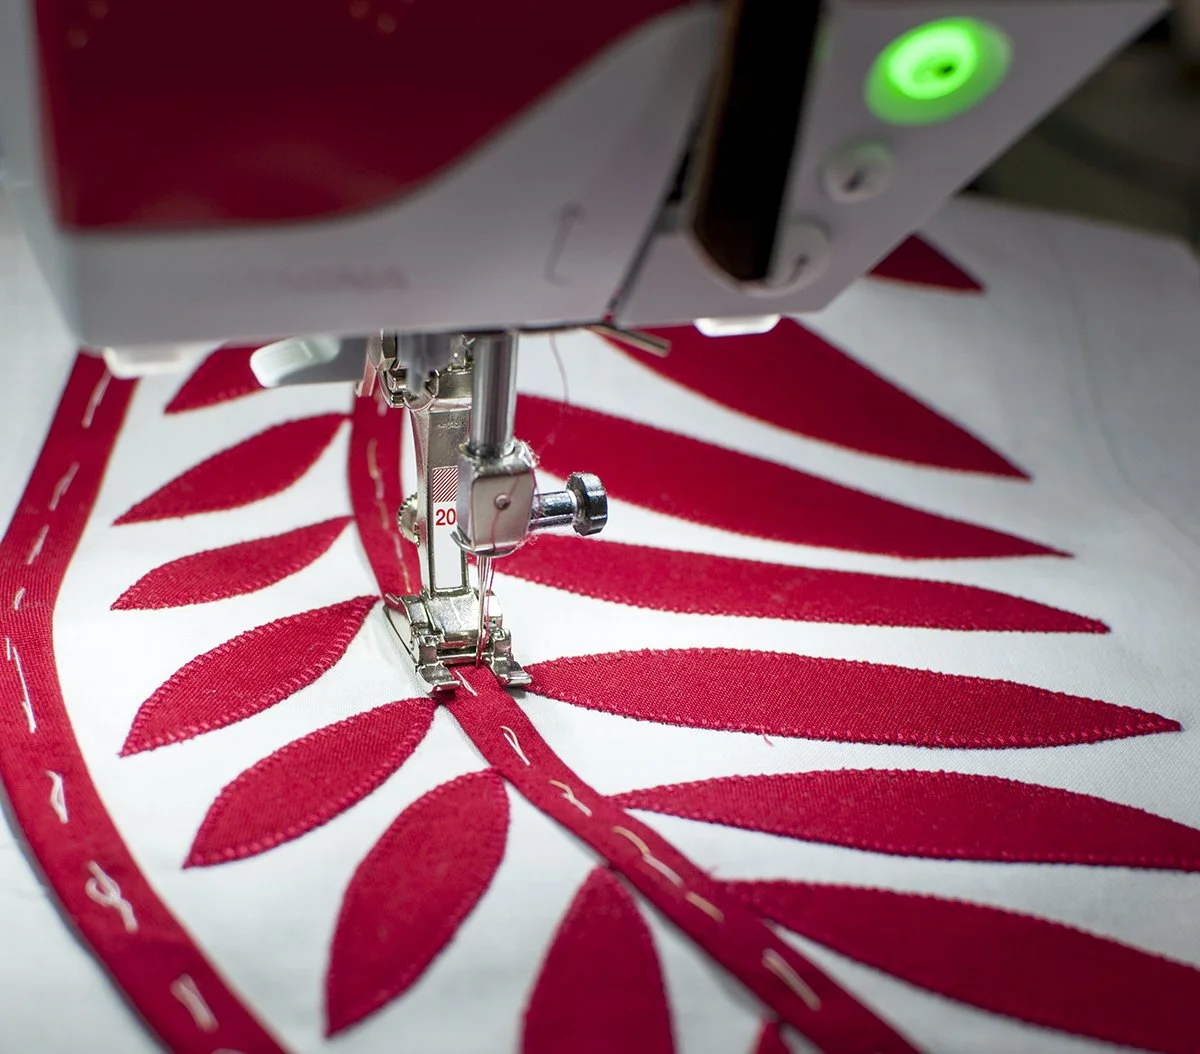
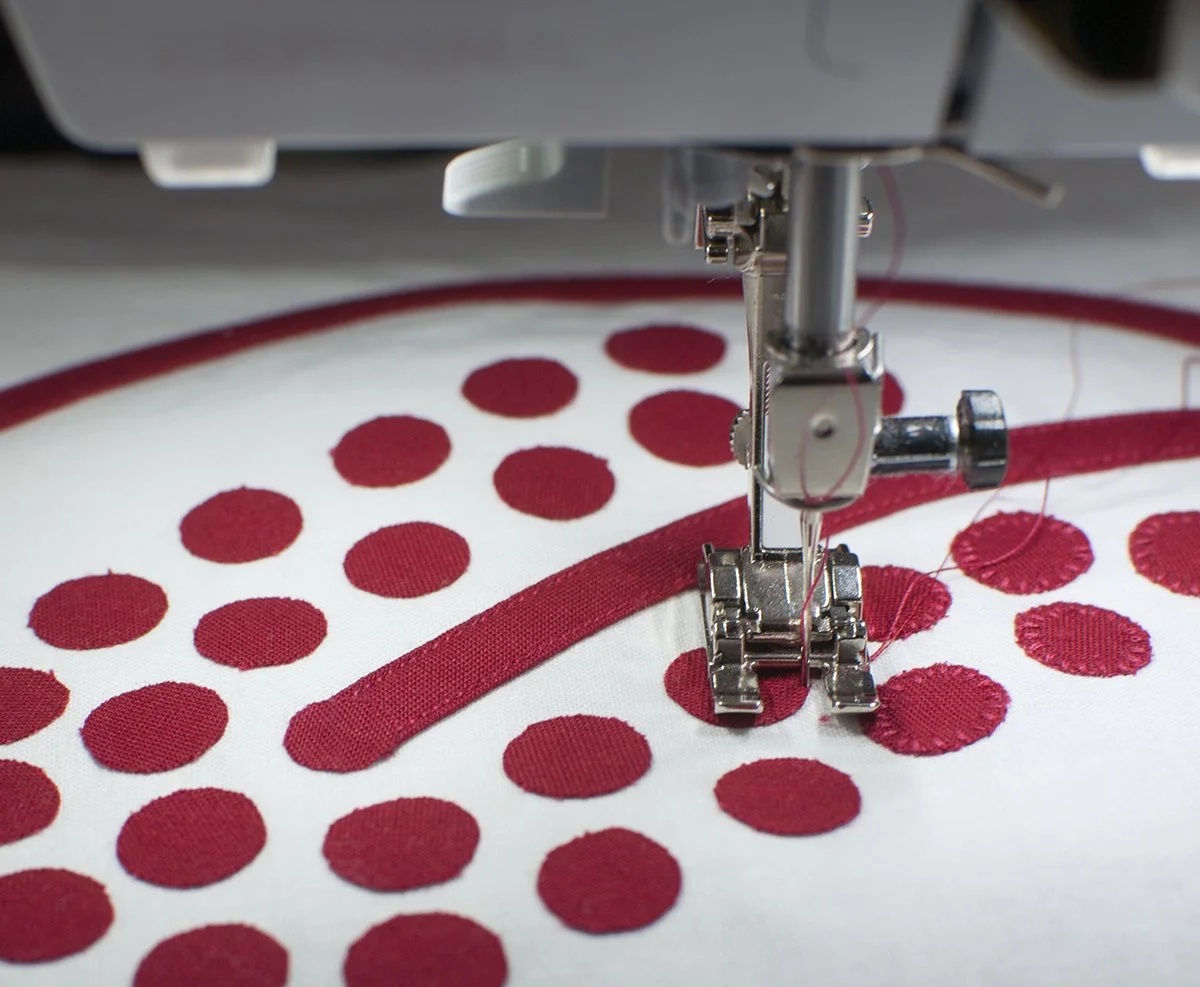
I enjoy making clothes for my daughter, machine mending for my family, and occasionally making items for my home. BERNINA makes everything so much easier with feet that are engineered specifically for certain tasks  and can quickly be changed for a specific part of a sewing project.

I've been writing this blog for about ten years but most of you have not been readers for that long so I'll share a little background information about myself.Although I was born in North Carolina, I spent the first half of my life in Blacksburg, Va. where my dad worked for Virginia Tech. My two sisters and I learned to sew from our mother who was one of two sewing teachers in our 4-H club. I finished my first quilt in 1976 with the resurgence of quilting that came with the American bicentennial celebration.

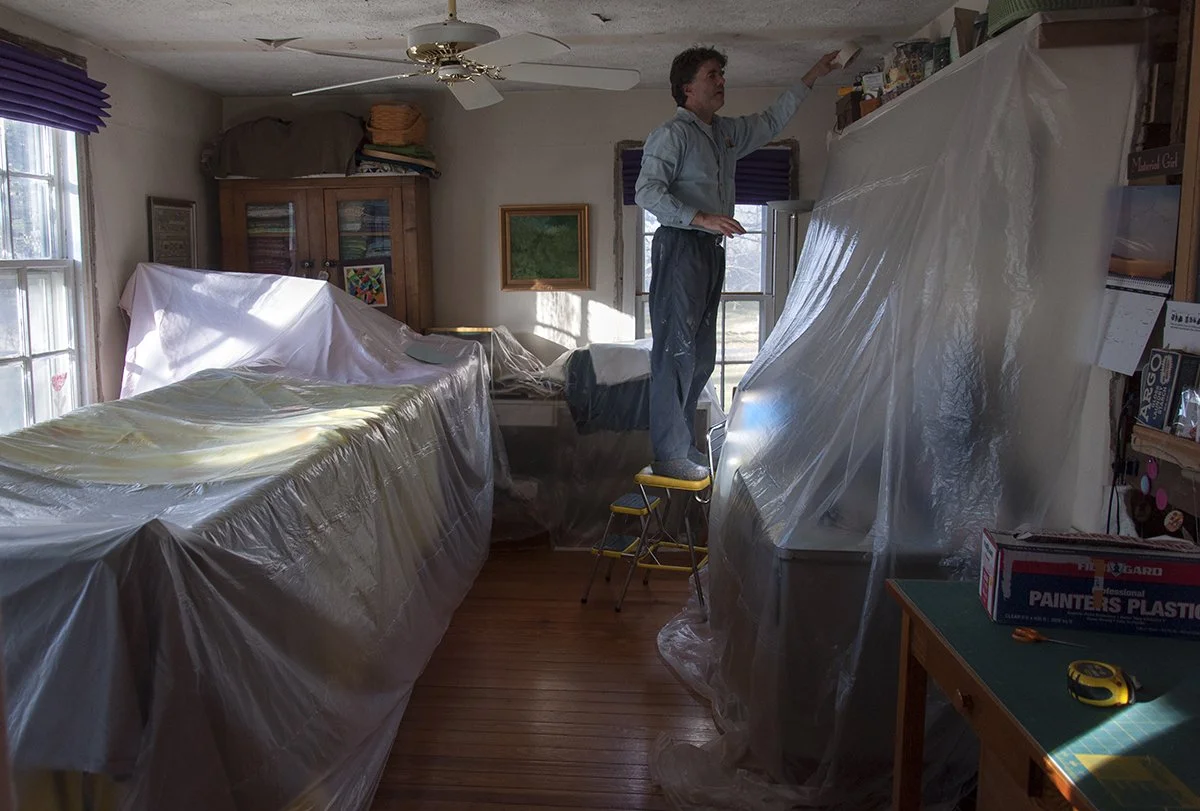
The second half of my life I have lived in a small town in south east Michigan. We live in an old farm house and have chickens and a large garden. Each year we grow a patch of Indian corn that we use to make our own cornmeal and feed our chickens. My oldest son was married in our yard and his wedding reception was held in our barn which he and my husband restored.

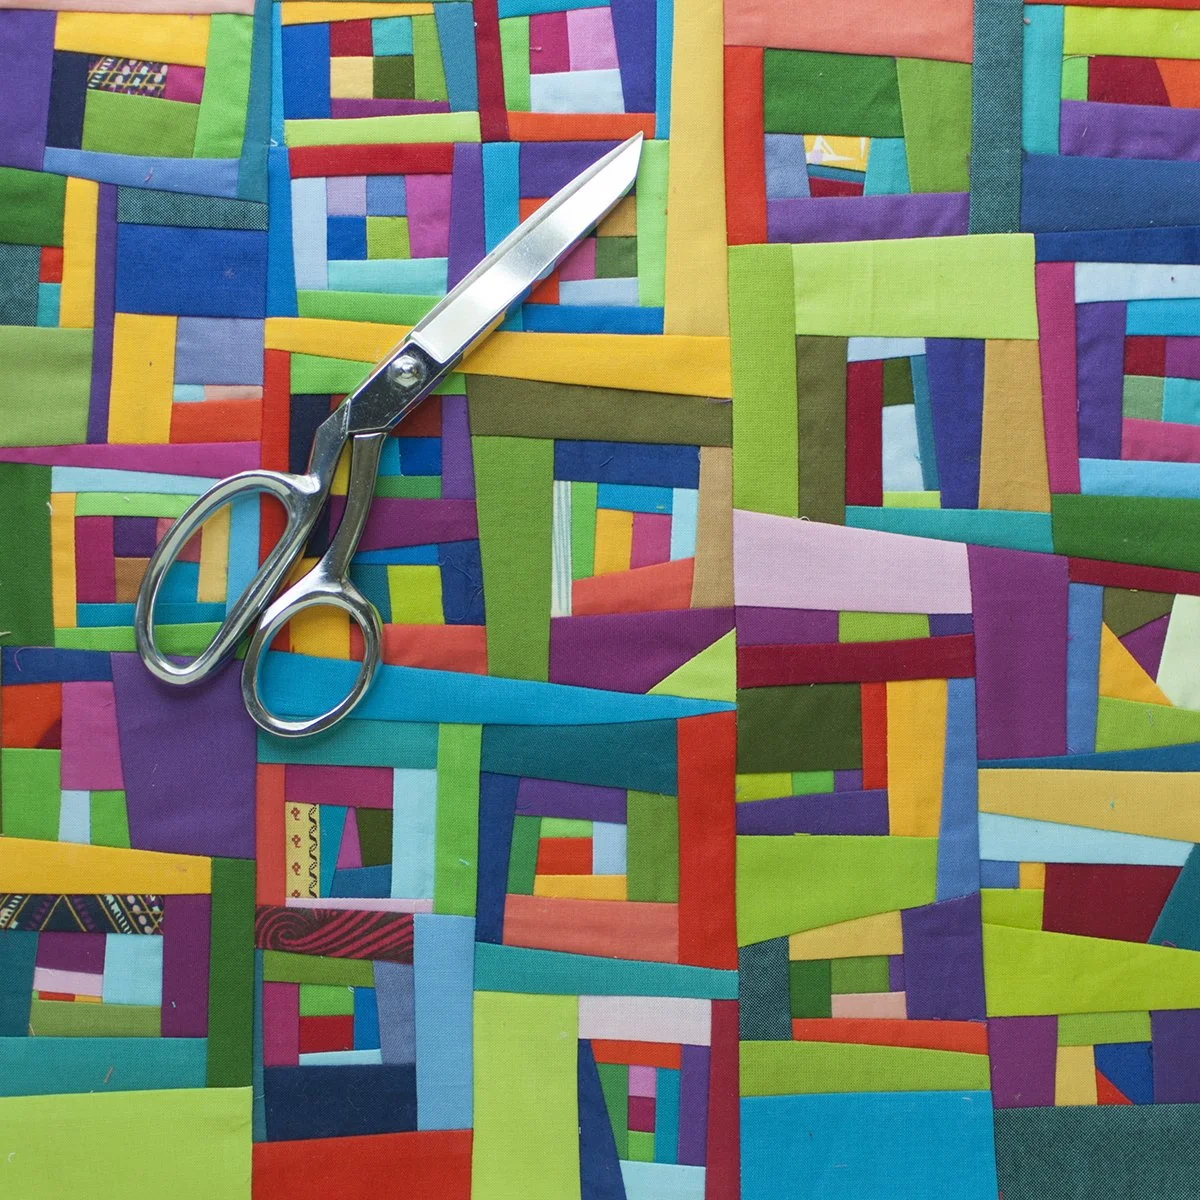
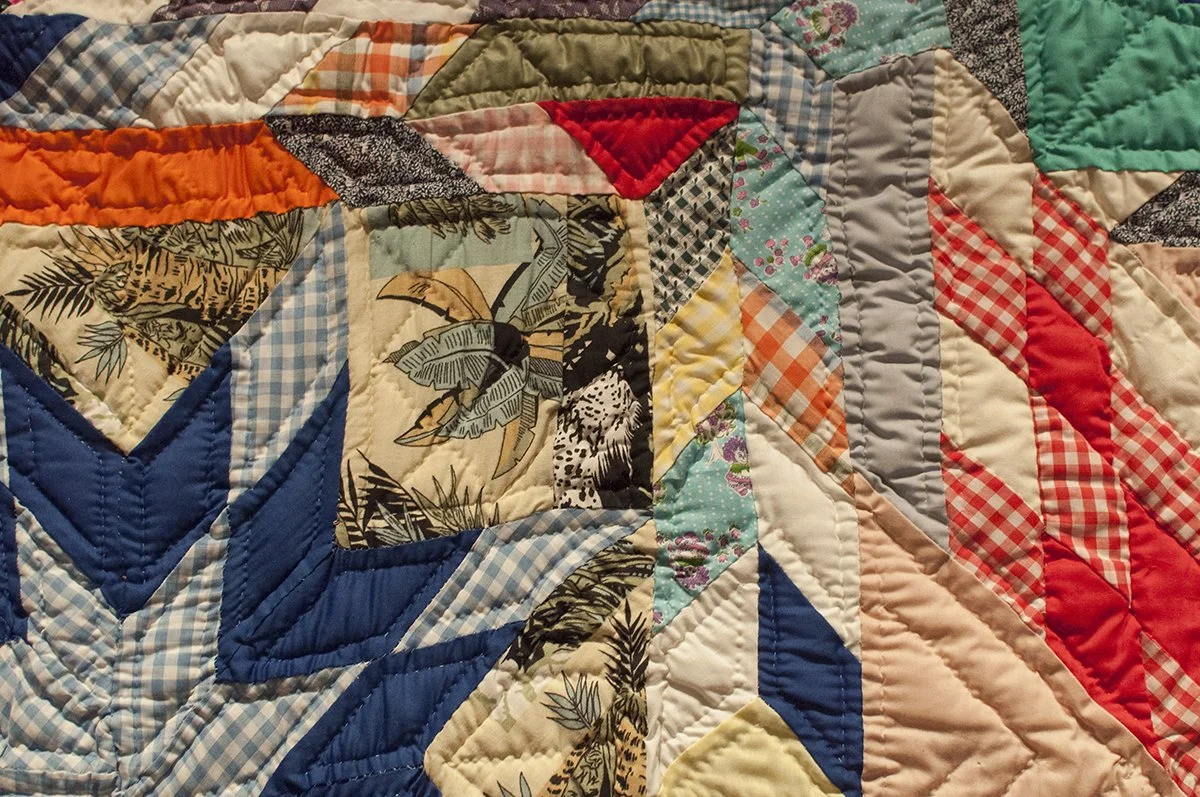
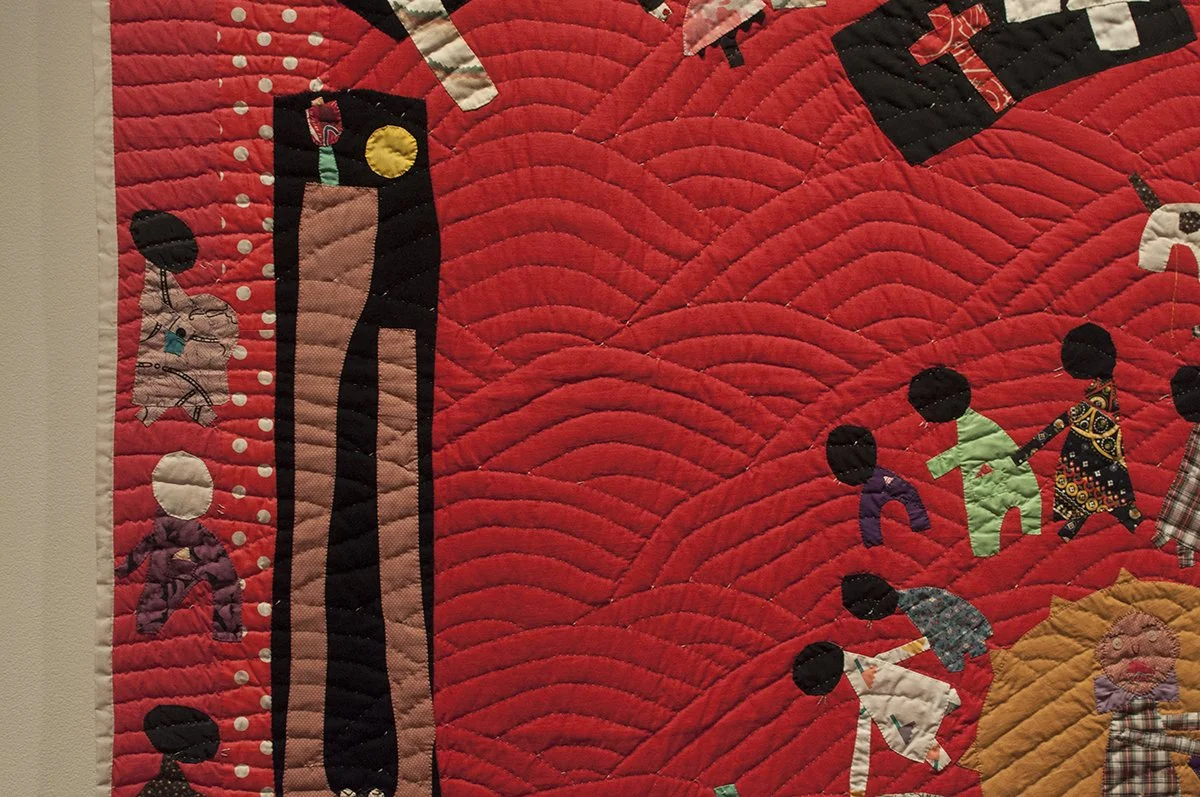
Both of my parents grew up on farms in central Virginia. Like the little red hen in the children’s story, I was taught to do things from scratch and to never let anything go to waste. My thrifty upbringing led me to my current style of working with scraps and the desire to use “every last piece.” My quilts have been juried into international shows and gallery exhibits and my work is in private collections around the world.

I have always recommended BERNINA machines to others and now that I am teaching across the country I have been selected to be a BERNINA brand ambassador.  I travel to the BERNINA US headquarters each year and learn about the new machines and what they can do. I know the importance of having the right tool for the job and love that BERNINA puts so much thought into the design and technology of their machines.

Fleur de Lei - a Splendid Sampler block

Hi, welcome to my space. I'm happy to be sharing my Fleur de Lei block with you.I love all types of hand sewing and needlework, especially needleturn applique. It's the perfect project to keep tucked away in a bag for long plane rides, train rides across Europe, or long waits at the dentist office. The mix of Hawaiian applique style and French fleur de lis design  in this block makes it easy for me to daydream that I am sitting on a beach in Hawaii or at a cafe in Paris while sitting at my daughter's dance studio and music lessons. This Fleur de Lei block is a little bit French and a little bit Hawaiian.  I used the Hawaiian applique technique with the well-known French Fleur de Lis motif.  I like learning about techniques and traditions from around the world and then making them my own.Go to The Splendid Sampler website to get your own copy of the pattern.Fleur de LeiI like this design because it includes inside curves, outside curves, inside points, and outside points. If you can stitch this little block you will be able to handle any applique design!If you have trouble with needle turn applique, this technique is often helpful for beginners.First, trace the design onto freezer paper, cut, press onto the rights side of the fabric that will be appliqued to the background.Next, trim the fabric leaving a scant 1/4'' seam allowance around the paper. Bast to the background fabric as shown below with basting stitches about 1/4'' from the edge of the paper.As you stitch, the freezer paper should help hold the fabric in place and make it easier to fold right at the edge of the paper.  With the tip of the needle, flip the seam allowance under, making it fold right at the edge of the paper. Bring the needle up from teh back and just catch the edge of the fold. While stitching, watch the area in front o fthe needle and make sure the fold is even with the edge of the paper just enough for the next stitch. Put the needle down through the backing fabric right next to where you brought the needle up. Rock your hand back and bring the needle up just through the fold of the applique fabric about 1/16'' away. (I am left handed so the photo shows a left hand stitcher) Use the needle to turn the next small section and continue stitching.Don't try to fold under the fabric far ahead of where you are stitching. Think about only one stitch at a time. When you are finished, remove the basting stitches and the freezer paper. With practice, you may be able to baste the fabrics together and stitch without using the freezer paper.Here's my latest version of the block.I used Jeni Baker's lined drawstring bag  pattern in Shea Henderson's book, School of Sewing and made a bag!If you are new to my website, have a look around.I'm a teacher and my classes include hand applique, tiny piecing, intuitive piecing, string piecing, and more.Follow me on Instagram to keep up with what's going on in the studio and other updates.I'm also working on a series of 16'' quilts inspired by the experiences of someone I love and care about who is in an abusive relationship. You can read more about them here

Unplugged

We are back from a week up north. We were completely "unplugged" with no electricity, internet, phones etc.Drummond Island is definitely a place I'd like visit again.It was so peaceful.I am having a hard time getting back in the swing of things this week. I think I need more time up north. 

Liberated Log Cabin

 I had fun making this little liberated log cabin quilt this week. I always struggle with the quilting ideas on small scale patchwork like this. I like the look of the hand quilting because it is not a solid line of thread over the top, but these pieces are small with a lot of seams.  What to do, what to do?I may try a simple channel or grid quilting with a very fine thread.

Hazel Hedgehog - the most exciting thing she has EVER done

Miss P is thrilled that she will be an aunt in July! Shortly after she heard the news she started planning all of the things she would make for the new baby. First up - a  quilt. She was already a fan of Elizabeth Hartman's patterns, so narrowing the choice to one of her designs didn't take long. She always told me they were SO CUTE! It was a close call between the kittens and the hedgehogs. Hazel Hedgehog was the final choice because the baby's mom is a hedgehog fan.She decided that if she was going to put all of that work into it she didn't want the baby to outgrow it quickly. She upsized the baby quilt to be four rows of four blocks.The four by four layout requires 16 blocks, an even number, just right for making two hedgehogs of each color. The baby can play "match the hedgehogs".Miss P went through my fabrics and chose lights and mediums of eight different colors for the faces and bodies. The spines for each would be different. I helped by cutting everything with the rotary cutter but she did the sewing by herself.This project required quite a bit of planning ahead to be finished in time for the baby shower. She sewed two blocks at a time over MANY weekends. It was an exciting day when all of the blocks were finished.Next up was the sashing and pin basting.Then came the quilting.When the last stitch of binding was finished she said, "Now I can say that I have made a quilt!! This is the most exciting thing I have EVER done!!!"Miss P asked me to thank Elizabeth Hartman for designing this cute pattern, and for encouraging her along the way, even if she didn't know she was doing it.Congratulations to her for getting it done! She finished just in time for photos the day before the shower - as one does. I am so proud of her! 

Crepuscular - the Oakshott Lipari quilt

 Welcome to my post on the Oakshott Lipari blog hop. Thank you Lynne and Michael for inviting me to participate and sending me such beautiful fabric to work with! I have been a huge Oakshott fan for quite a while and made a quilt from the Ruby Red bundle a few years ago. And also have the big box that is still looking beautiful over in the corner of my sewing room. I think I'll dive into that when I return from quilt market next week.In addition to the Liparis bundle of 18 fabrics that all have a black warp, I used 18 fabrics from the colorshot 31-57 bundle.Here are the directions for making your own Crepusular quilt as seen above.Finished size: 56'' by 63''MaterialsFat eighth bundle Oakshott LipariFat eighth bundle Oakshott Colorshott 31-57 - choose 18 colors to go with the 18 in the lipari bundle - set aside the others for another project.Batting 60'' by 70''Backing 60'' by 70''half yard fabric for facings or bindingDownload and print out the templates- Download CrepusularFrom each of the 36 fat eighths, cut two of each template a, b, and c.  There will be 72 a, 72 b, and 72 c pieces.Group the cut pieces in groups of one each of a, b, and c to make 72 blocks. Mix up the light and dark fabrics, some blocks can be high contrast and some low contrast. This mixing will give the quilt more visual energy.For each block, sew piece a to piece b. Fold each piece in half to find the middle of the seamed line. Match the centers and place a pin as shown.Bring the edges even and sew the seam. Some people prefer to sew with the wedge piece on top and some people prefer to sew with the outer curve piece on top. Sew them together whichever way works best for you. Press seam away from the point for a smoother curve.Next, add the outer corner of block, c. Find the center of the seam and pin.This larger curve is a little easier to sew than the first seam.On these curves I hold the edges even with my fingers while I sew.Press seams to the outside of the curve.Curve seam 6Repeat the steps above to complete 72 blocks.Arrange the blocks as shown in the finished quilt or play with them and come up with your own arrangement. Sew the blocks together in rows. Sew the rows together.Layer the backing, batting and quilt top. Baste. Quilt. Finish with binding or facing.I finished this quilt with a facing. (I will do a separate post with a tutorial on how to finish a quilt with a facing.)I can't tell you how much I enjoyed making this quilt. I loved the way each piece of fabric performed a bit of visual magic as it was fed under the presser foot. The process of sewing these blocks was a visual feast.You really must see this fabric in person to fully appreciate its beauty. It is very difficult to capture with a camera.Each of the eighteen colours in the Lipari collection are woven with black thread to give a dark and rich palette and are 54" wide so go a lot further than regular quilting cottons.  Find out more about the inspiration for this collection here. 

Details from a Quilt Show

Last week, Debbie Grifka and I drove up to Flint to see the show, "From Heart to Hand - African American quilts from the Montgomery Museum of Fine Arts"Here are a few of the details from some of the quilts in the show.Unknown Maker - late 20th centuryThe red and white striped backing was carried around to the front to bind the edge. A strip of solid red was added to make the backing large enough.Catherine Somerville - Log Cabin 1950-60I liked pretty much everything about this quilt. It was made from old jeans and khakis.Mary Lee Bendolph - Strings 2003-4This one is made from the hip seams of pants.Nora Ezell - Star Puzzle 2001I am reminded of my desire to add gingham to my quilts.Unknown maker - Crib Quilt 1945Most of these prints have faded to the same soft look. So much pattern together but I like it with this soft look.Yvonne Wells - Yesterday: Civil Rights in the South III - 1989I love the free form fan quilting Yvonne Wells uses on her quilts.

Splendid Sampler - Hearts Aflutter

Are you participating in the Splendid Sampler sew along, a year long sew along organized by Pat Sloane and Jane Davidson? Today they posted the directions for the first block.Here's my version of Pat's Hears Aflutter block.I'll be using scraps to make my blocks but I have chosen two solid fabrics, Kona Oasis, and Kona Wasabi, to help give the quilt a more cohesive look.Each week two new block designs will be posted at the Splendid Sampler website. Hop over and read more about it.There are 80 designers who have contributed blocks, so, at some point in the year, one of my block designs will pop up! I hope you can join us. It's going to be a fun year!

Modern Style for Girls

Miss P and I LOVE Mary Abreu's book, Modern Style for Girls.  The book includes basic patterns for bodice, pants and skirts that are just right for preteen girls. Each of the three chapters focuses on one of the patterns and its variations. The different styles for each basic pattern allow you to be your own designer. After reading through the different adaptations of each garment you get to know how the parts go together and gain confidence to make your own adjustments and try your own styling. The patterns are not complicated and work well for a confident beginning sewer.P enjoyed looking through the book and chose several garments from the book that she'd like. First up were the pedal pushers featured on the cover.The fit was PERFECT on the first try. Don't you love this vintage button P chose for the waistband?We also added a bit of embroidery to the bottom. The chainstitch is stitched with aurifil floss and the french knots are in aurifil wool.I know we will be making more garments from this book! Next up for Miss P is the Kicky Pleated Skirt.

Aurifil Designer of the Month - Lynn Harris!

It's time for the May Aurifil designer of the month feature over on the Auriblog.I'm designer of the month for May and made a bright spring colored mini quilt.Hop over to the Aurifil site to read the interview with me and download the pattern for my mini block.I used aurifil poly thread for for the first time when quilting this quilt and I really like it. It is strong and has a wonderful sheen. The variations in color in #5505 were just right to tie all these bright pinks, greens, and oranges together.I love what Pat did in her version of this mini. She has a secondary design in the background squares. Go see it!​​

Felted Knits for Christmas

I did a lot of quick knitting before Christmas. Both P and B had requested lined felted mittens and Miss P also asked for a new pair of elf slippers. They chose the yarns from my stash and I didn't worry about knitting after hours or in secret.The mittens were knit using Ann Budds Basic Mitten pattern in The Knitter's Handy Book of Patterns. I used a superwash baby cashmerino for the lining and handspun for the outer mittens. I used Pamela Wynne's free Elf Slipper pattern for the slippers. You can see other slippers I've made with this pattern here and here.The outer of B's mittens is knit with one strand of handspun and one strand of laceweight alpaca.We had a little felting party in the bathroom Christmas afternoon.I think the mittens turned out great.I knit Miss P's slippers with two strands of homespun to make them a little thicker. They shrank but not as much as I was hoping. They ended up a little too big for her but too big is better than too small. At least they have some growing room!I'm still working on a new hat for D. He got a "kit" for Christmas. He chose the yarn and pattern and I wrapped the needles, pattern, and yarn up for him to open. It's how we roll.I kinda hope we have a cold winter so that we can use our new warm woolen winterwear. 

Slow Progress

Here's a little peek at some recent sewing progress.I've ditch stitched the whole quilt and added some little pebbles for texture. I'm still deciding on  how to quilt the larger open spaces in this one.The last few days, however, my sewing room has looked like this.The sewing machines (that's the longarm on the left), my computer, and desk were all encased in plastic bubbles. B was doing some plumbing work for the new bathroom upstairs that involved taking down some of the ceiling in my sewing room for access. He did not want to be blamed for any damage caused by plaster grit and dust!

This and That

Things have been a bit hectic around here. I hope to get back to regular posting soon.B has been clearing out his mom's house and getting it fixed up, painted, and ready for sale. I'm trying to merge some of her items into our home, like this dessert china set that was hers. I plan to use it for birthday parties - we'll start next week with a special half century birthday celebration!Back in September I went to Gwen Marston's last quilt retreat. She is retiring and will not be hosting the retreats any longer. The good news is that long time retreat members Pat Holly and Sue Nickels will be taking over. The 2014 retreat is called Quilting the Quilt. Deciding on and designing the quilting for a quilt is the biggest hurdle for me in making a quilt. I signed up for this retreat next year and I know I'll learn a lot from these two talented ladies. This will be a great workshop for thinking about the quilting even from the very beginning of a quilt design. I am eager to learn a lot about Quilting the Quilt from these two talented ladies. Registration is open for next year so go sign up for a great retreat - don't delay, the second week is already full.