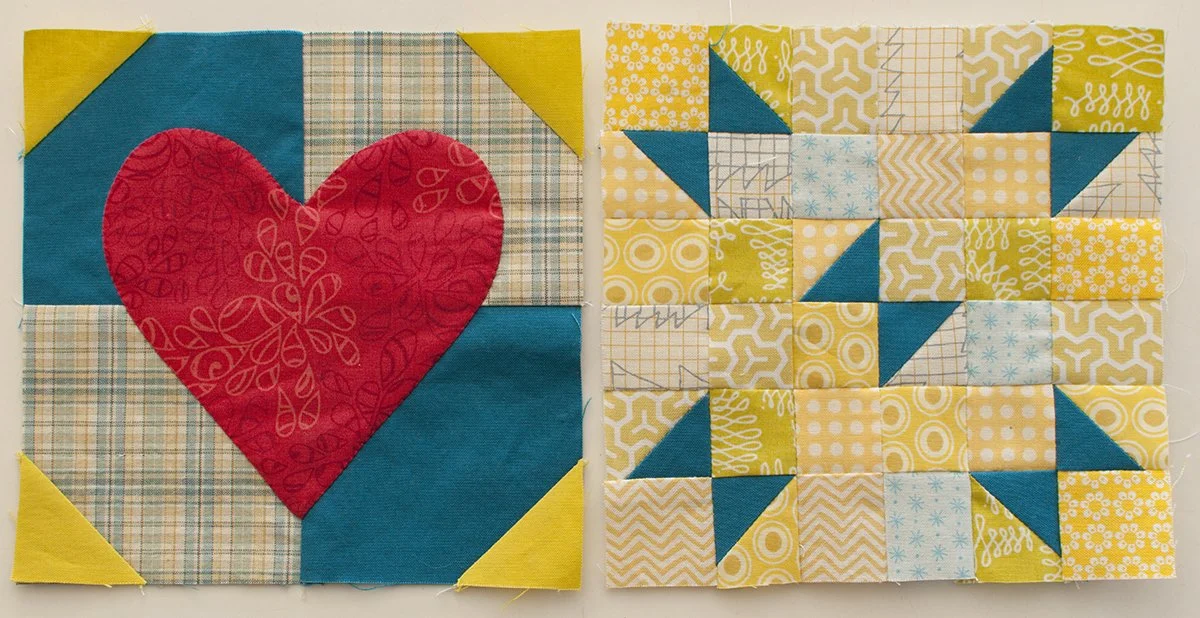
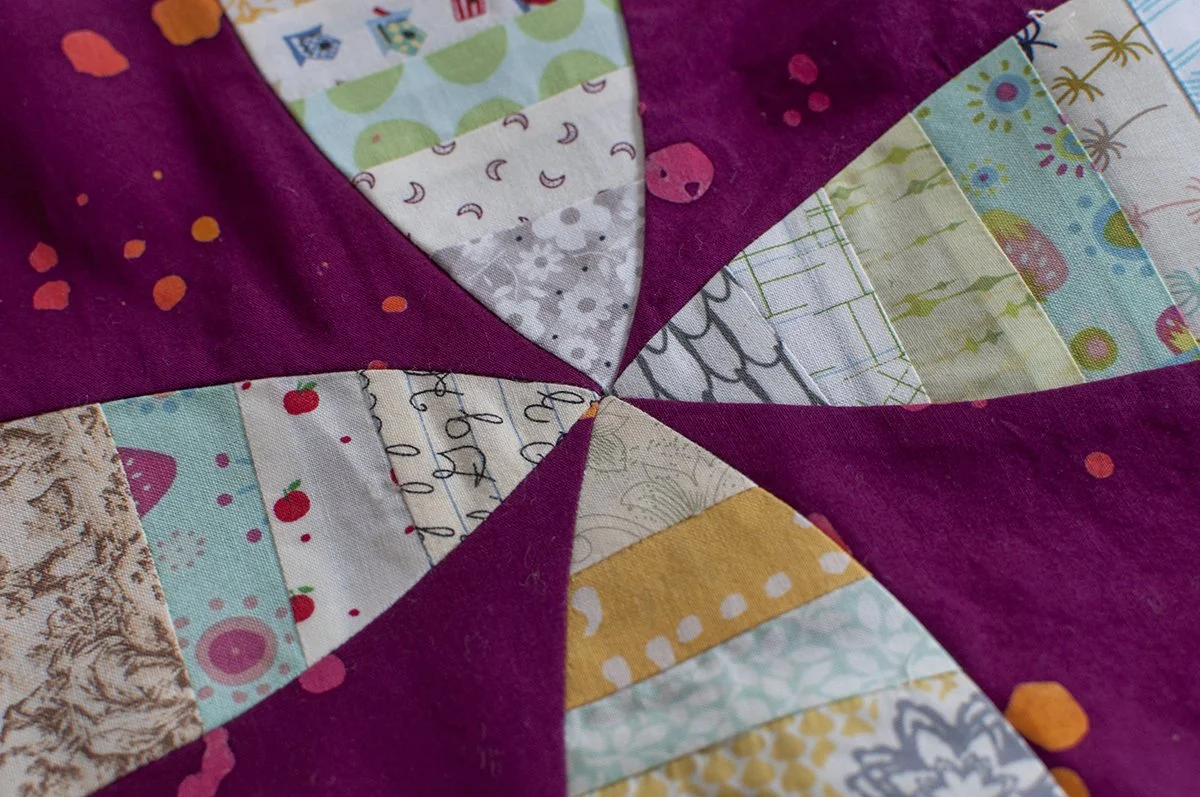
Coal Seam was started in a class with Luke Hanes last year during QuiltCon 2015 and was included in Gwen Marton's book, Free Range Triangle Quilts. When I shipped it to the publisher for photography I had only quilted the black lines.
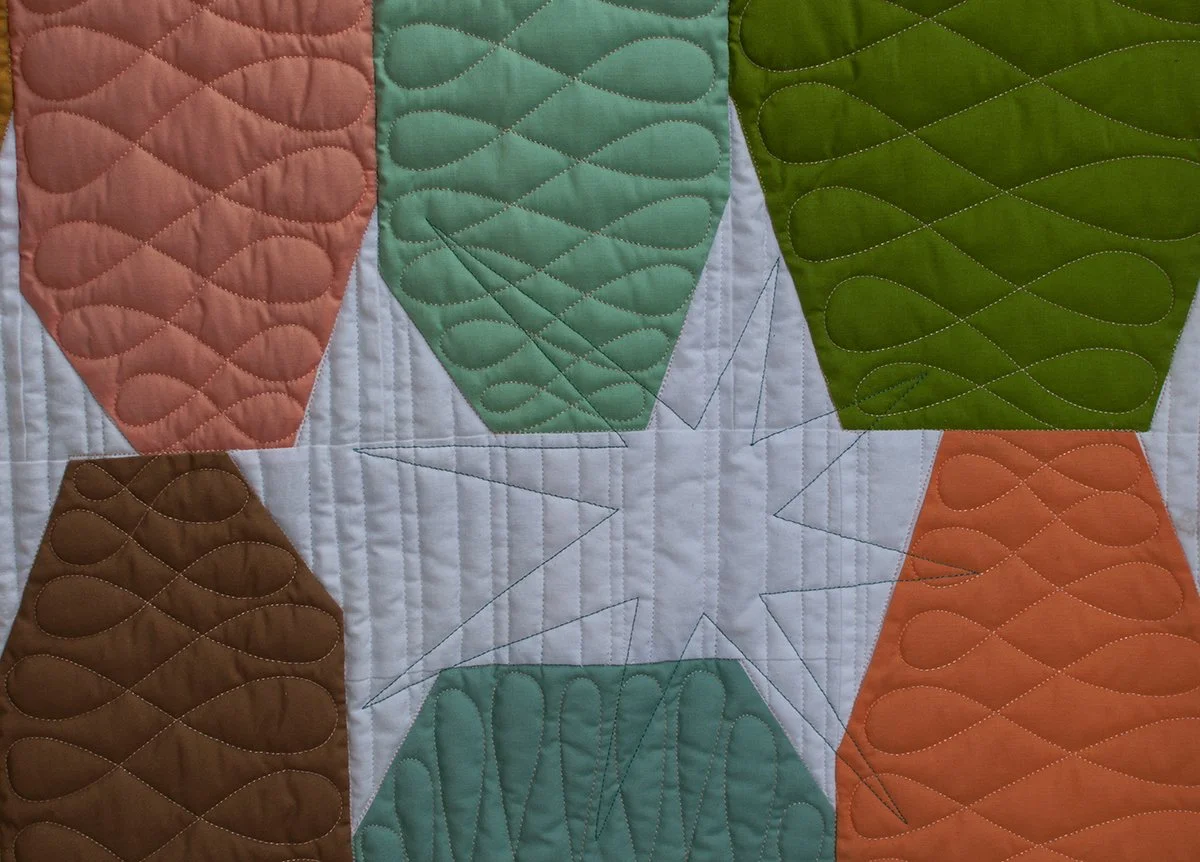
As the QuiltCon 2016 submission deadline came up, I pulled this out to enter in the show but after looking at it again, thought it needed a bit more quilting in the background. So, I started adding some seed stitch quilting to the white.
When I started the stitching, I didn't carefully calculate how long the stitching would actually take.
Six weeks of steady stitching later, I finished the quilting on New Year's eve. Needless to say, it wasn't finished in time for QuiltCon submission. There's always next year, right?
I used Glide thread and am thrilled with the way the stitches shine, an effect that is very difficult to capture with the camera.
I enjoyed the process immensely and plan to add more hand stitching to future projects.
The Splendid Sampler - Wings
Have you started the Splendid Sampler sew along, a year long sew along organized by Pat Sloane and Jane Davidson yet?I have finished the second block, Wings, designed by Jane Davidson.I had a hard time deciding if I wanted to add the embroidery detail. Here is is with the first block before I added the antennae.
I have enjoyed scrolling through the #TheSplendidSampler hashtag on Instagram to see all of the different versions of the blocks. Come join the fun and add your photos.
Wordless Wednesday
Pillow Talk
Two years ago I gave my daughter-in-law two pillow forms for Christmas and told her I would make some pillows for her. After much delay they are finally finished.Megan chose the color palette and pulled a selection of fabrics from my stash. She also requested velvet backing for the pillows.The larger pillow is a block from Jane Davidson's Rock Pools quilt. The pattern is in her self published book Desert to Sea.
The smaller pillow top was made in a class with Sherri Lynn Wood last fall.
I sometimes have a hard time squaring up large blocks so I want to share how I trimmed these pillow tops to size.To trim the large blocks I used Karen Kay Buckley's Perfect Adjustable Square. It comes is a beautiful box that keeps all of the parts safely stored together.
Inside there are pieces that go together to build squares from 4 inches to 24 1/2 inches. This device makes it easy to find the center of a square without marking the diagonal lines.
I highly recommend this set for squaring up large blocks. It is well worth the price to know you are getting it right with little effort.
Lucky Strike Quilt - an artist trade
We've been working hard on wedding prep this summer, mostly that involves lots of cleaning in the barn.I took advantage of a clean barn wall yesterday to take some pictures of my latest quilt finish. This quilt will be for the wedding photographer; we have worked out an artist trade.The pattern is Lucky Strike by Vintage Modern Quilts.Megan, the soon to be bride, picked the pattern and fabrics to suit the wedding photographer's mid century aesthetic. She chose fabrics from my stash and says the inspiration for the fabric pull was "beachy." There are two prints and the rest are solids. The pattern calls for 9 half yards but we used about 18 fabrics. There was a bit of figuring before diving in to the cutting to make sure I could get all of the bowling pins cut from the smaller fabric pieces.
The pins are quilted with a loopy figure eight design in a pretty peach thread and the background has randomly spaced vertical lines in white thread to match the background.
There are a few scattered turquoise "KAPOW" style starbursts to add to that vintage feel.
I am really pleased with the finished look of this quilt.Finished quilt: 63'' by 80''Batting: Quilter's Dream woolQuilting thread: Aurifil #2021, Glide coral 51625, Floriani turquoise pf293
Every Last Piece - feature quilt of the Week - Square Root
The featured quilt this week is Square Root, another from the gallery section of Every Last Piece. This quilt is composed of four patch and nine patch blocks. The background is a plain muslin fabric and all of the other sqaures are scraps from other projects. I chose scraps that read as dark to give the finished design more impact.This was one of the first quilts I quilted on my longarm. I did an all over loopy design on it.
There are no patterns in the book for the quilts pictured in the "gallery." They are there to provide inspiration and ideas for the designs presented later in the book.I chose this quilt to share with you now, because my friend Trudi Wood sent me this photo on Instagram and it made my day. (photo shared with permission) She is making her own version of the quilt. She figured out the layout in EQ, sized it up for a bigger quilt, and has added a border to it. She says she'll use reproduction 30's fabrics. I love that fancy feather quilting she has planned for the border.
After reading the book she says, "I've been thinking very differently about my scraps AND my stash!"I hope there are others out there inspired to make scrap quilts after reading Every Last Piece!If you are making anything inspired by the quilts in my book please use the hashtag #everylastpiece so I can see what you're doing.
WIP Wednesday
I really enjoyed making these string pieced melons throughout last year. It was fun sewing and I was able to make some of them with the handcrank machine on the back porch last summer. I took them on a couple of retreat weekends too. Putting the melon units together with the background fabric requires a bit more concentration than building the string units. The curves are gentle enough that they are not a problem. The challenge is in getting all of the points to line up nicely where they come together. For a flatter finish I am sewing just up to the point where the seams intersect so that the seam allowances will twirl on the back side. I have them sewn into rows and am now taking my time sewing the rows together as that is the trickiest part.I am eager to have this together and start the quilting on it. I am also itching to start a new project but I will wait at least until this top is sewn together.
Fat Quarterly - issue 16 - SCRAPS
The latest issue of Fat Quarterly is available today!Go get yours, it has lots of great scrappy projects in it, including this one of mine! I am SO glad I can finally share it with you! I worked on this quilt most of last fall.It's called The Whole Nine Yards because it uses nine yards of background fabric!
It took a long time to make but I really enjoyed the process. There are loads of little half square triangles in there and I got to dig DEEP in the scrap bin.
Lucky Girl with Linen
I finished the second Lucky Girl quilt for Jennifer last week and took it to Lake Michigan for a photo shoot. Here's a little pool ambiance for you.I added a bit of linen to this quilt. This is a pretty linen that I thought was a perfect match to the brownish mustard color in some of the Lucky Girl prints. I used it for a few scattered pinwheels and also the binding. I think it gives the quilt a bit of a sophisticated flair.


Lucky Girl
In my summer of slow sewing I finally finished a quilt!!This is a commission quilt for Jennifer Paganelli and uses her upcoming Lucky Girl line of fabrics. It was pretty fun to put together even if there are loads of partial seams. I love the herringbone effect.
I had fun quilting it with loopy loops on the longarm.Finished measurements 60 x 80 inches.I should probably also mention that my oldest son designed this quilt for me. Yeah, he's helpful like that AND he's good with quilt math.I'm working on another more involved quilt from the same fabric line so stay tuned for that!
Tealorange - quilting progress
I decided that the Tealorange quilt needed simple quilting. I started with stitching in the ditch between all the blocks and then added some parallel lines close to the ditch like I did on this quilt (but only in one direction).Then, I decided that I needed to fill the whole space with lines.


Super Hero: Behind the Scenes Look at a Quilt Blogger's Son
He is my super hero.
His special skills involve being tall enough to hold

while I try to squeeze in multiple photo shoots


Well Worn
This postage stamp quilt is one of my favorite things at my mother-in-law's house. It was made by HER mother-in-law. I love all the different fabrics in it - lots of squares sewn together. It is a true scrap quilt made much like my first quilt but the squares are much smaller and it has seen so much use and love. I can imagine all of the time put into sewing those squares together and hand quilting - at a time when she was raising her own children, doing the gardening, canning and other housekeeping chores by hand. It is a utility quilt made for use. I love how the colors and fabric have softened over the years. It is super snuggly and still gets used. Miss P slept under it on our recent stay there.So. Much. Goodness. You can just feel the love passed from one generation to the next.
Odds and Ends
I have a few small recent projects to share with you.Here's a pink pixie hat for a friend's daughter.Bee blocks for Jennifer, she requested words of encouragement and healing.
Just one more pair of bee blocks and I'll be finished for the year. Tia has requested bird blocks!It has been getting colder so I want to make sure that we all have warm slippers for the winter. I'm making a pair of "frankenslippers" that will use up a lot of the small ball ends I found when I pulled out my selection of worsted weight yarns. It will be good to clear these out of my sewing room. Yay for cleaning up and using what I have!
These fun vintage fabrics came in the mail yesterday. I did a little fabric swap with Katie. Don't you love those little Kangaroos? The two fabrics on the left are the old 36 inch wide yardage.
What fun little projects have you been up to this fall?
Ruby - the finished quilt
The Ruby Oakshott quilt is finished and I thoroughly enjoyed the quilting process on this one. It was a delight to watch the fabrics move past the presser foot. I was mesmerized by the subtle color change of the fabrics as the machine moved them along.I did some close line quilting (quarter inch spacing) to cause the fabric to bend and show the different colors of the warp and weft.
Have I mentioned how much I love this fabric? Oakshott Fabrics is a small family owned company and I want them to succeed. Here's a little video about them that you might find interesting. I don't have a deal with them but they did send me these red fabrics, seriously though, I'd tell you if they weren't good. I've actually ordered more fabric from them, (cough) twice this month.M came in the sewing room when I had the pieces for this quilt cut and piled on my sewing table and noticed the color change as he walked across the room. He snatched up a couple of pieces for closer examination and then declared, "This fabric is AWESOME!"I have to say that he has NEVER said anything like that about any of my fabrics or projects before. Now, if fabric can get a teenage boy to take notice it's got to be good.
In thinking about how to finish this quilt I decided that I wanted it to end with the edge of the piecing, that is, to have no bound edge. I finished it with a facing, like you would use in garment construction.
It took a bit of fussing to figure out how to do a facing and get the sharp looking corners that I wanted. I'm happy with the finished look.
I didn't take photos of the steps for adding the facing - now that I have figured out a process that works for me, I'll photograph it if I do it again.Here you can see the facing. I edge stitched the facing to the outer edge of the quilt so that it would more easily fold to the back. I hand stitched the inner edge of the facing to the back of the quilt.
I like the clean looking edge.
Point Me - King Size
I am working on a king sized commission quilt. I admit I'm proud of myself for getting it pin basted last night. I've never made a quilt this large before but I'm loving the challenge.D was home and helped me move the couch out of the living room and get all of the layers spread and even. It's going to be 108 inches wide by 101 inches long. I'm making it a bit larger to allow for shrinkage in quilting and washing.
There is a lot of negative space to fill with quilting and that is a bit intimidating. I'll quilt it with groups of wavy "straight" line quilting. I want the wavy lines to be close enough to interact with each other but I think quilting the whole quilt that close could be a bit overbearing visually. I discussed quilting options with Gwen Marston last week and she suggested doing the quilting in groups with a space between them. I thought that was a great idea.This afternoon I marked some straight lines to help me maintain some order while quilting. I mentioned to D that a chalk line like those used in house construction might be helpful but that I didn't want to risk the chalk not washing out. He went to the basement and came up with this nifty laser level tool. I think I may be adopting it to live in my sewing room.
Isn't this the greatest tool EVER??? The boys came in with a friend this afternoon and I heard the comment "woah, EXTREME quilting!" I love when quilting impresses the boys!
I was wondering how to make sure I trim the quilt straight and square given that there are no blocks or borders to measure from. Problem solved!! I love that.
Paris on a Shoe String
I finished putting this quilt top together yesterday. I call it "Paris on a Shoe String".The guys here thought that the name of the quilt was a bit obtuse but I told them that quilters would "get it". I hope I'm right. If not, it doesn't really matter because I like it and I'm stickin' with it.I mentioned earlier that I was making some more string pieced triangles. I had the idea to try some different settings with them and this big star design is one that I came up with. I had this great Paris map print on my sewing table and it was begging to be used for the background. I didn't want seams running across the map print so D helped me make a cutting diagram to get the pieces cut from the fabric I had. We also made sure that the print is right side up everywhere and continuous in the star centers. Not that anyone would notice but us...
I love that when the four large stars are set together you get another star in the center.
I have no idea how I'll quilt over the map fabric here. Any ideas?
Bluebirds of Happiness
I am happy to share with you the finished Bluebirds of Happiness quilt for Cloud 9 fabrics. This quilt is made from fabrics in the Alegria line. That bluebird fabric is so popular that it is already sold out!!! Miss P fell in love with the little bluebirds and I am glad I snatched up an extra few yards for some roman shades for her room before it was all gone. Michelle has informed me that they will probably be running another print run of that fabric.
M was kind enough to help with the photo shoot today and also suggested the barn backdrop. I think he secretly wanted to hang out of the barn window.
I am thrilled that I will get to personally deliver this quilt to Michele next week. I will be going to spring quilt market and this quilt will be on display in the Cloud 9 booth. Woo hoo!! I'll be going to market with Brenda, Anna, and Debbie from the Ann Arbor Modern Quilt Guild. I am so excited about going and meeting many people like Tia and Katy who I have known on the web and will finally get to meet in person.
The Happy Drawing tops and Crazy Love quilt will also be on display at quilt market.
When it Rains it Pours
Just popping in to let you know I'm still here.I finished this chartreuse triangle scrap quilt almost two weeks ago and it is still waiting for a real photo shoot. I need a tall person to hold it for me. Luckily, two tall people have moved home from school. Soon there will be pictures. I promise. It just needs to stop raining while a tall person is at home.I've also been working on the Alegria quilt for Michelle.
I am ALMOST finished with it.Has the spring cleaning bug hit your house? We had a fit of spring cleaning fever this weekend when M came home and was allergic to his room. Lots of wiping, washing, rearranging.... now I kinda want to clean and rearrange the whole house. Have you ever wanted to take everything out of your house and just put back the things you really want and use? I used to do that to my room and closet every year when I was growing up. It would probably be a good thing to do but I don't think it will happen. We have accumulated a lot of stuff in the twenty three years since we moved to this house. It's a little frightening to think about, really.
String PInwheel Top
Yesterday, miss P was home with a fever. She worked on making some Valentines while I pieced this string pinwheel top together.I'm pretty happy with it so far. I think I'll use a multi color thread for the quilting over the strings and maybe a blue for the pinwheels - or maybe the pinwheels will be left unquilted. I haven't decided yet.I need to order more batting so I have some time to think about it.