finish it friday

Point Me - FINISHED

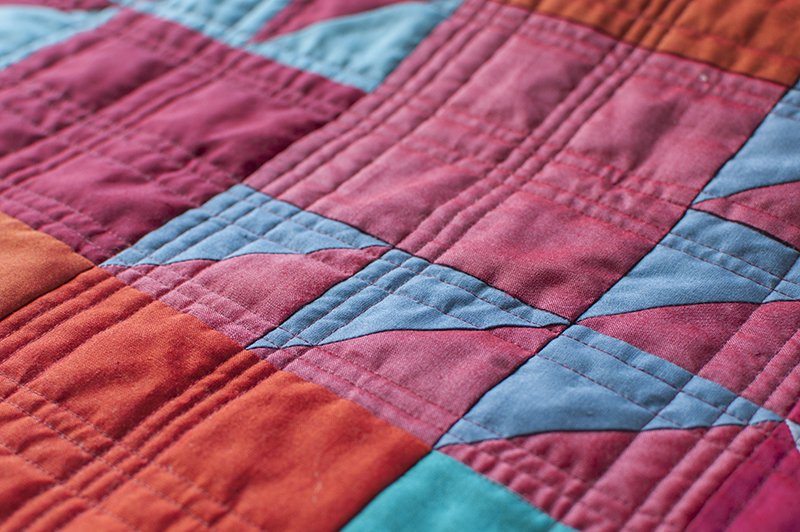
Here's the finished king size Point Me quilt.I'm thrilled with the quilting on this one, it was a great quilting plan for my domestic machine. A also think the organic nature of the quilting compliments the minimal design of the pieces flying geese section of the quilt.

It is so big that I can't hang it on the line or have someone hold it for photos.
D helped get it spread flat and squared for trimming when he was home on the weekend. We lined up the quilting lines parallel to the floor boards and then did some 3,4,5 triangulation trickery to get the bottom and top perpendicular to the sides. I used the carpenter's laser level to help mark a straight edge on each side.
Finished size: 108 wide by 101 tall.

Ruby - the finished quilt

The Ruby Oakshott quilt is finished and I thoroughly enjoyed the quilting process on this one. It was a delight to watch the fabrics move past the presser foot. I was mesmerized by the subtle color change of the fabrics as the machine moved them along.I did some close line quilting (quarter inch spacing) to cause the fabric to bend and show the different colors of the warp and weft.Have I mentioned how much I love this fabric?  Oakshott Fabrics is a small family owned company and I want them to succeed. Here's a little video about them that you might find interesting. I don't have a deal with them but they did send me these red fabrics, seriously though, I'd tell you if they weren't good. I've actually ordered more fabric from them, (cough) twice this month.M came in the sewing room when I had the pieces for this quilt cut and piled on my sewing table and noticed the color change as he walked across the room. He snatched up a couple of pieces for closer examination and then declared, "This fabric is AWESOME!"I have to say that he has NEVER said anything like that about any of my fabrics or projects before. Now, if fabric can get a teenage boy to take notice it's got to be good.In thinking about how to finish this quilt I decided that I wanted it to end with the edge of the piecing, that is, to have no bound edge. I finished it with a facing, like you would use in garment construction.It took a bit of fussing to figure out how to do a facing and get the sharp looking corners that I wanted. I'm happy with the finished look.I didn't take photos of the steps for adding the facing -  now that I have figured out a process that works for me, I'll photograph it if I do it again.Here you can see the facing. I edge stitched the facing to the outer edge of the quilt so that it would more easily fold to the back. I hand stitched the inner edge of the facing to the back of the quilt.I like the clean looking edge.