Happy Land

I've been in Happy Land this week. Thank you all for the birthday wishes. It is really nice that you take the time to leave me a note.

Birthday celebrations and sewing - some of my favorite things.

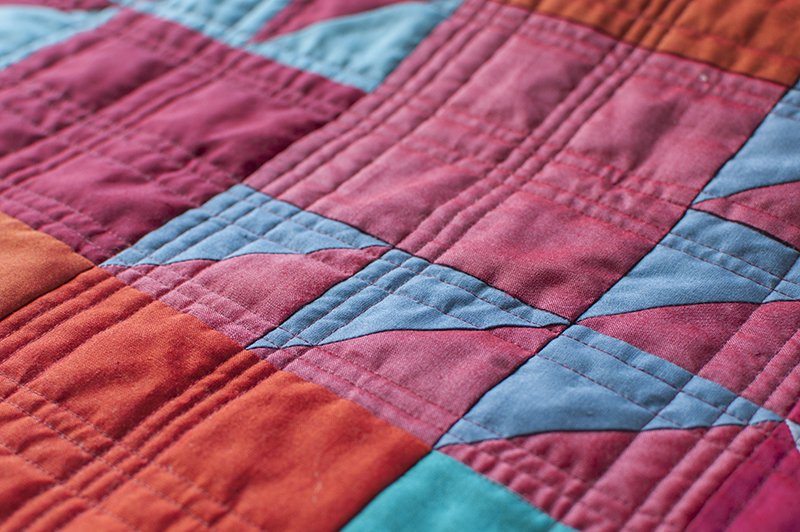
Yesterday I finished up a commission quilt top out of Jennifer Paganelli's Happy Land fabric.

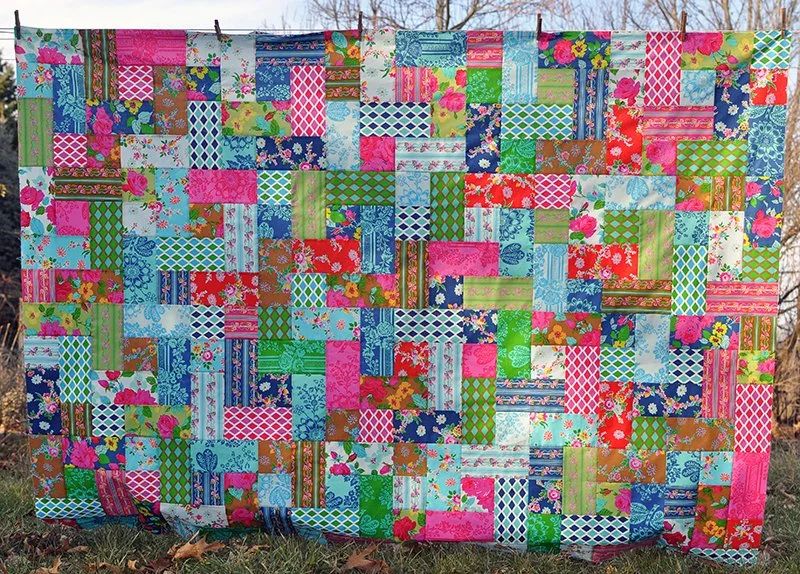
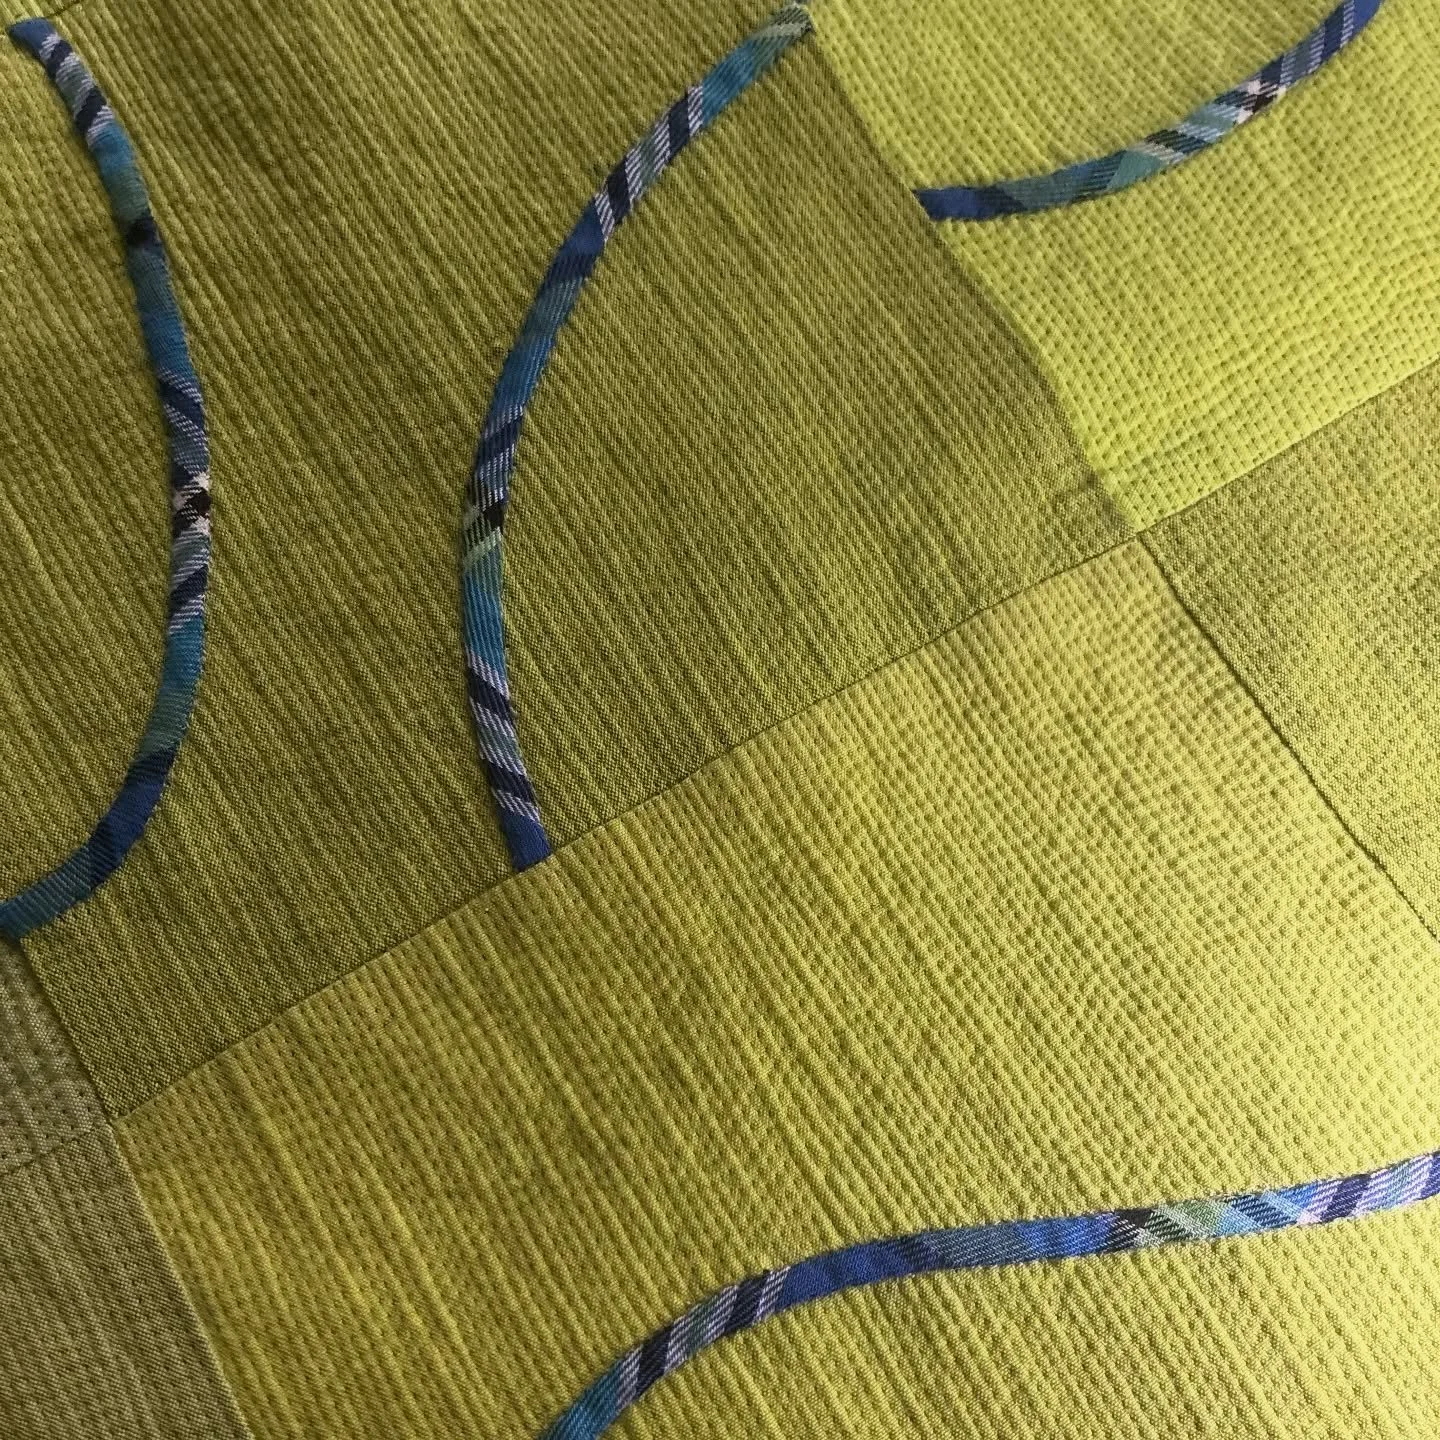
I used Thomas Knauers pattern that is great for mixing up a riot of fabrics like this. I love the mix of squares and rectangles.I'm still thinking about how to quilt it. Hmmm. I think it needs something curvy. 

Little Stitches - Aneela Hoey

While at Quilt Market, I had the pleasure of meeting the lovely and talented Aneela Hoey and also picked up a copy of her book, Little Stitches: 100+ Sweet Embroidery Designs 12 Projects.

Miss P, of course, perused all of the books that I brought home from market. In fact, she filled this one with sticky bookmarks and notes for me about which embroidery designs she likes.

I flipped through and read her notes. She likes this one but she wants the mamma bird to keep a watchful eye on the baby. I thought these birds were particularly cute and simple enough to be stitched on thick terry/velour fabric,  I added this little design to her Halloween elf shirt one day while she was at school. I love the transformations that fabric has taken - Bathrobe to costume to cute shirt with embroidery.

Aneela's book is full of sweet designs to dress up existing clothes or home dec items or add to just about any sewing project. There's even a pull out section with iron on tranfers of the designs included in the book. So many cute little animals, delightful girls, and fun every day objects to stitch.I know Miss P wants more of these designs embriodered on some of her other clothes. Just look at all those book marks! I think I'll let her do some of the embroidery though.

She loves the spruced up top!

Sandhill Cranes

This week we went to the bird sanctuary near us and watched the Sandhill Cranes come in for the night. They spend the night in that wetland area you see in the first photo.

At first we saw a few small groups of cranes flying in. Then more and more larger groups and many groups at once. It was fun to hear them calling as they flew. The ones already on the ground in the wetland area would answer back.I'm posting these pictures at a larger size so that you can click on them and see some of the groups of cranes in the distance.

(in the photos above and below you can see about 6 groups of cranes in the distance, surrounding the sun below the cloud)

Note the groups in the distance below just over the trees.

So. many. cranes.

This sanctuary is one of a few places where the Sandhill Cranes congregate before heading south together in mid November. We feel lucky to have seen so many on one visit. There were thousands coming in while we were there. Certainly, it the most we have seen in one night. It was a beautiful evening for bird watching.

Modern Quilt Guild Showcase in Houston

I was honored to be a part of the Modern Quilt Guild Showcase which was open during Fall Quilt Market and Festival. It was a wonderful exhibit featuring modern quilts from across the country. I had seen many of the quilts online but it was quite moving to see them all hanging together.The Kelp Quilt by Rossie Hutchinson of the Ann Arbor MQG and the Mid Mod Bee (Cheryl Arkison, Amanda Carestio, Debbie Grifka, Rebekah Craft, Robin Ferrier. Lauren Hunt, Blair Stocker, Jacquie Gering, Bernie Olszewski)Zinnias by Lynn Harris of the Ann Arbor MQG. (So fun to see my quilt hanging next to Rossie's.)J Rock Star by Victoria Finley Wolfe of the NYC Metro MQG

Halloween Elf

Here is our little Halloween elf.

I made the top from B's old terry/velour bathrobe using Rae's Flashback Skinny Tee pattern. I also added some pink braid from my trim collection.

The pattern for the hat is Lyalya Hoodie by Natalia Schaffer. (knit earlier in the year and blogged here.)

Pretty close to the design she imagined, I think. She is thrilled with the soft, warm top.

Flashback Skinny Tee

P is a skinny girl. Seven years old and all of 40 pounds. Usually when a shirt or top fits her in the shoulders it is way too short and doesn't even reach the top of her pants. Not a great look. So, she usually wears shirts that look a bit big on her.

Enter Rae's Flashback Skinny Tee pattern. It seemed like this pattern was made for Miss P. I cleaned out my dresser on the weekend and found an old shirt of mine that P liked. We cut it down and made a great new shirt for her. This is the first shirt that has actually FIT her in years! She loves it.

The pattern is super easy and I was able to keep the existing sleeve hem and neck finish of the original shirt with careful placement of the pattern pieces.

She likes the top so much that she had to wear it for the rest of the day - which was spent threshing the black beans that we grew this year.

A few weeks ago we pulled up all of the black bean plants and wrapped them in old sheets and put them on our upper porch to finish drying (we didn't want the beans to fall from the pods into the garden). Yesterday was the perfect crispy warm fall day for threshing.

First we wrap a big bundle of plants in a tarp. Then, P's favorite part, we thwack it with a stick to pop the beans from their dry pods.

Then we pick out all of the plant parts making sure there are no beans left in the pods.

What is left on the tarp is a pile of black beans mixed with chaff.

On a breezy day we will pour this mix from bucket to bucket and let the wind carry away the chaff and we will be left with black beans to store for future meals.

Yesterday was a perfect fall day!I also found the perfect pattern for the top of P's Elf costume for Halloween! She'll be a skinny elf in a Skinny Tee!

Point Me - FINISHED

Here's the finished king size Point Me quilt.I'm thrilled with the quilting on this one, it was a great quilting plan for my domestic machine. A also think the organic nature of the quilting compliments the minimal design of the pieces flying geese section of the quilt.

It is so big that I can't hang it on the line or have someone hold it for photos.

D helped get it spread flat and squared for trimming when he was home on the weekend. We lined up the quilting lines parallel to the floor boards and then did some 3,4,5 triangulation trickery to get the bottom and top perpendicular to the sides. I used the carpenter's laser level to help mark a straight edge on each side.

Finished size: 108 wide by 101 tall.

Odds and Ends

I have a few small recent projects to share with you.

Here's a pink pixie hat for a friend's daughter.

Bee blocks for Jennifer, she requested words of encouragement and healing.

Just one more pair of bee blocks and I'll be finished for the year. Tia has requested bird blocks!

It has been getting colder so I want to make sure that we all have warm slippers for the winter. I'm making a pair of "frankenslippers" that will use up a lot of the small ball ends I found when I pulled out my selection of worsted weight yarns. It will be good to clear these out of my sewing room. Yay for cleaning up and using what I have!

These fun vintage fabrics came in the mail yesterday. I did a little fabric swap with Katie. Don't you love those little Kangaroos? The two fabrics on the left are the old 36 inch wide yardage.

Ruby - the finished quilt

The Ruby Oakshott quilt is finished and I thoroughly enjoyed the quilting process on this one. It was a delight to watch the fabrics move past the presser foot. I was mesmerized by the subtle color change of the fabrics as the machine moved them along.

I did some close line quilting (quarter inch spacing) to cause the fabric to bend and show the different colors of the warp and weft.

Have I mentioned how much I love this fabric?   I've actually ordered more fabric from them, (cough) twice this month.

M came in the sewing room when I had the pieces for this quilt cut and piled on my sewing table and noticed the color change as he walked across the room. He snatched up a couple of pieces for closer examination and then declared, "This fabric is AWESOME!"

I have to say that he has NEVER said anything like that about any of my fabrics or projects before. Now, if fabric can get a teenage boy to take notice it's got to be good.In thinking about how to finish this quilt I decided that I wanted it to end with the edge of the piecing, that is, to have no bound edge. I finished it with a facing, like you would use in garment construction.

It took a bit of fussing to figure out how to do a facing and get the sharp looking corners that I wanted. I'm happy with the finished look.I didn't take photos of the steps for adding the facing -  now that I have figured out a process that works for me, I'll photograph it if I do it again.

Here you can see the facing. I edge stitched the facing to the outer edge of the quilt so that it would more easily fold to the back. I hand stitched the inner edge of the facing to the back of the quilt.

I like the clean looking edge.