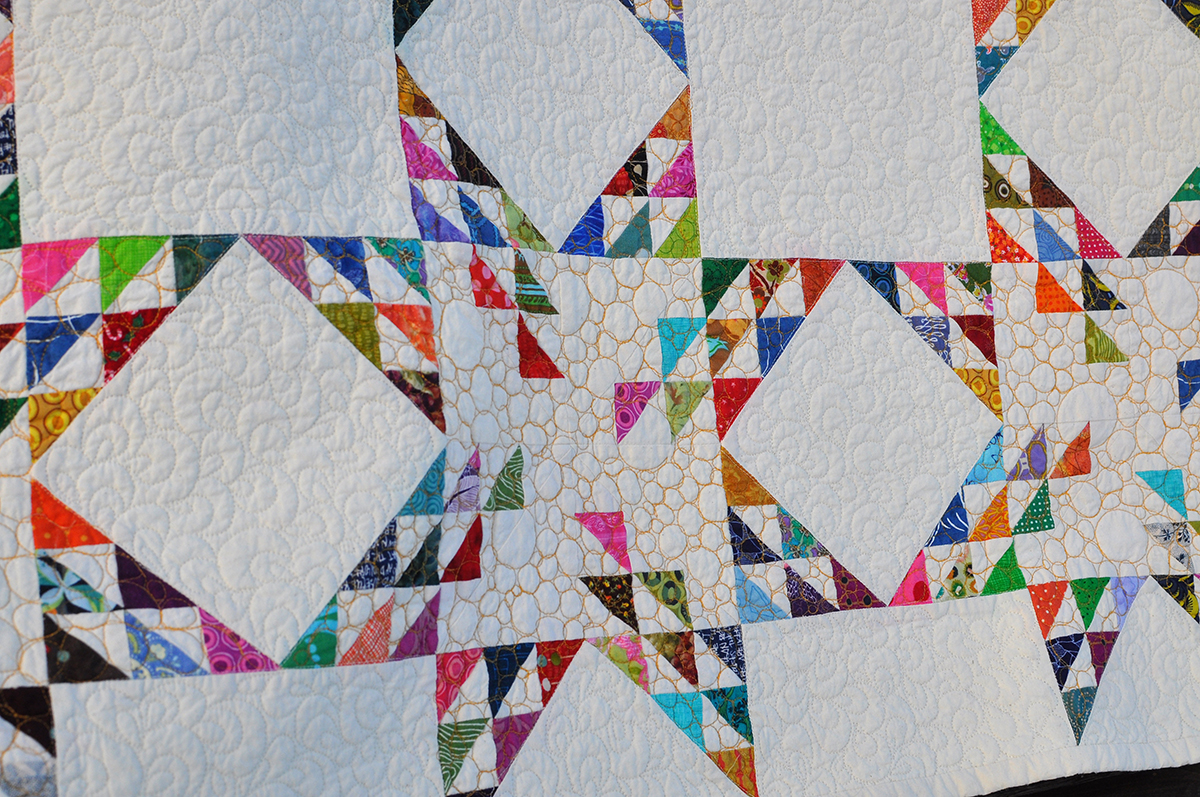
This queen size quilt pattern is a stunning scrap buster project. It is an original variation of a quilt block called Twinkling Star. This variation has more scrap sections and is pieced as a whole quilt rather than individual star blocks. It is the perfect project for the quilter who has a lot of scraps and loves working with small pieces of fabric.

Random Triangles
I've been working on finishing projects this fall. Here's my latest finish.

This quilt was made from solid charm squares. Each square was cut in half on the diagonal and randomly sewn to another triangle.

After the half square triangle units were made I arranged them out into rows without looking at the orientation of the seam or color placement. The result is a quilt with unexpected secondary shapes and patterns like the diamond in the lower right of the photo below.
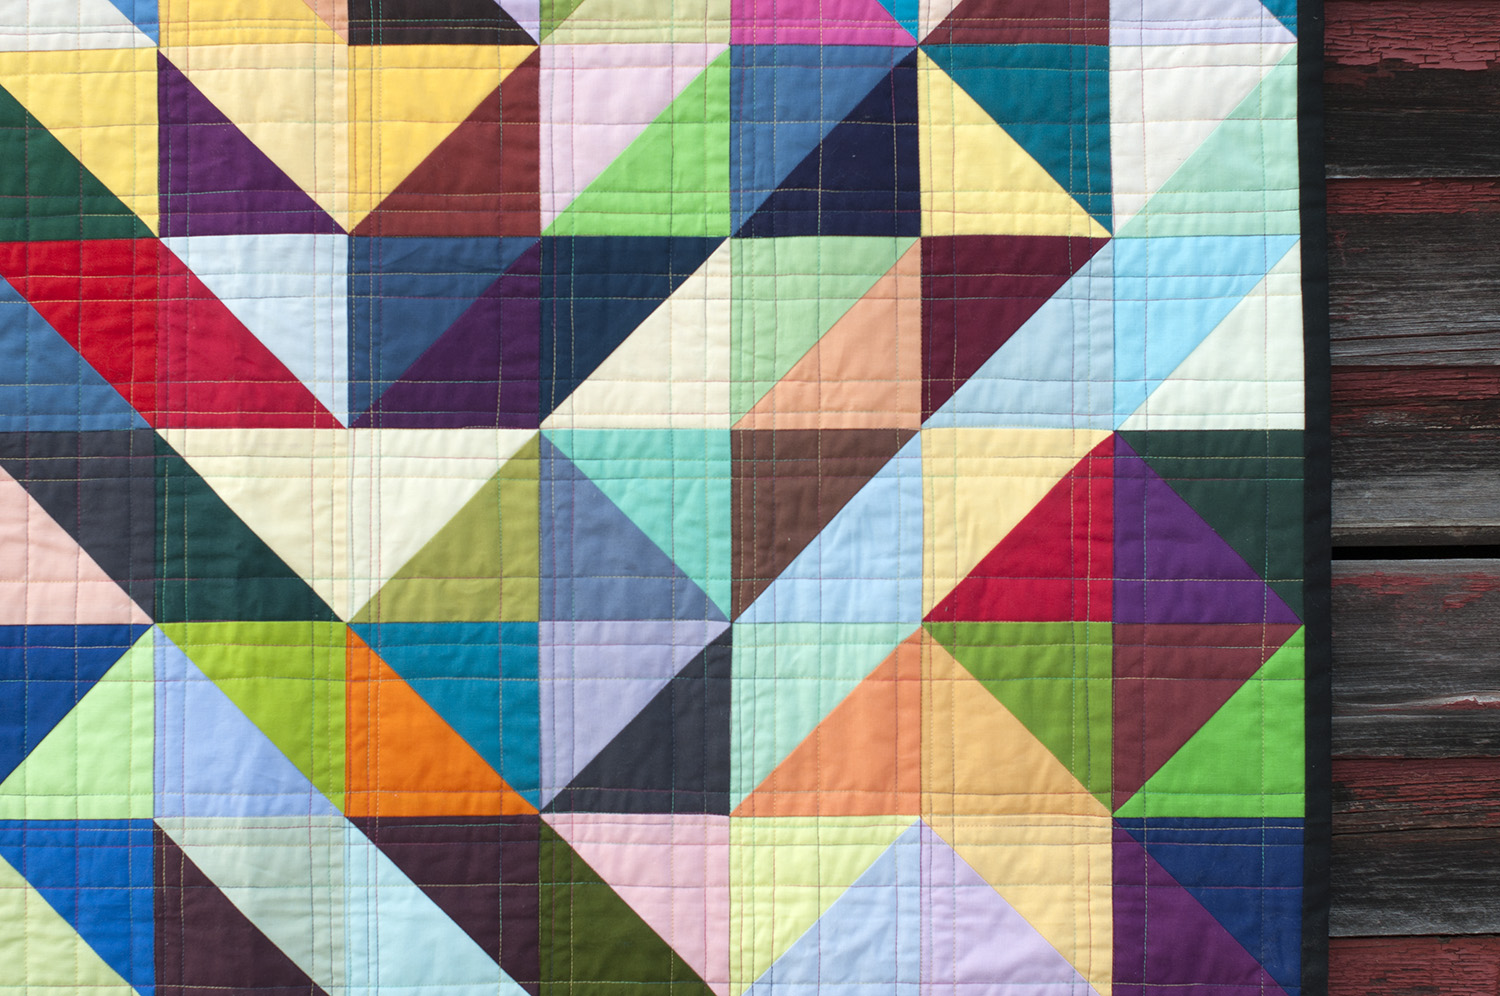
This shape created by yellow triangles adds interest.

What about this shape made from this arrangement of dark fabrics below? If I had spent time arranging and moving the squares before sewing them together I likely would have ended up with a less visually interesting quilt.

This is the second quilt I have made using this technique and I am thrilled with both of them. You can see the first of the two quilts here.
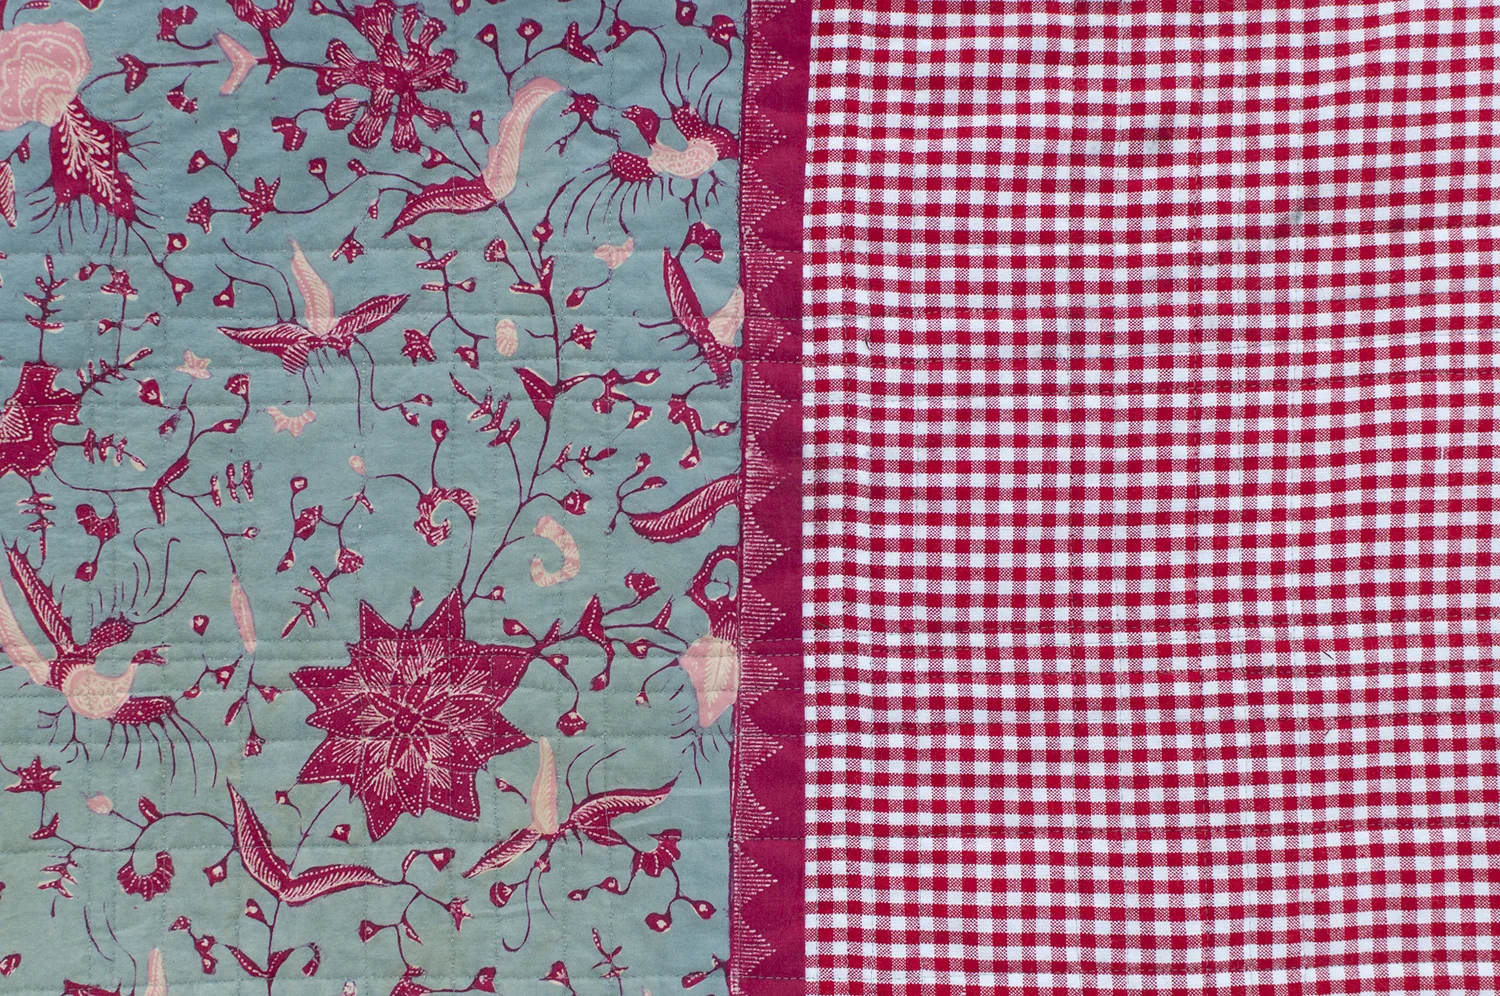
The backing is a combination of a vintage batik I got on a trip my family took to Indonesia in 1978 and a red and white gingham.

This combination makes me happy.
Finished size 43'' by 50''.

Tools of the Trade

I've been getting a lot of questions about the tools I use for hand quilting, so here are some details about the tools I used when quilting this log cabin quilt.
Grip it Dots - I stick one of this on the tip of my index finger. They make pulling the needle through the fabric much easier.
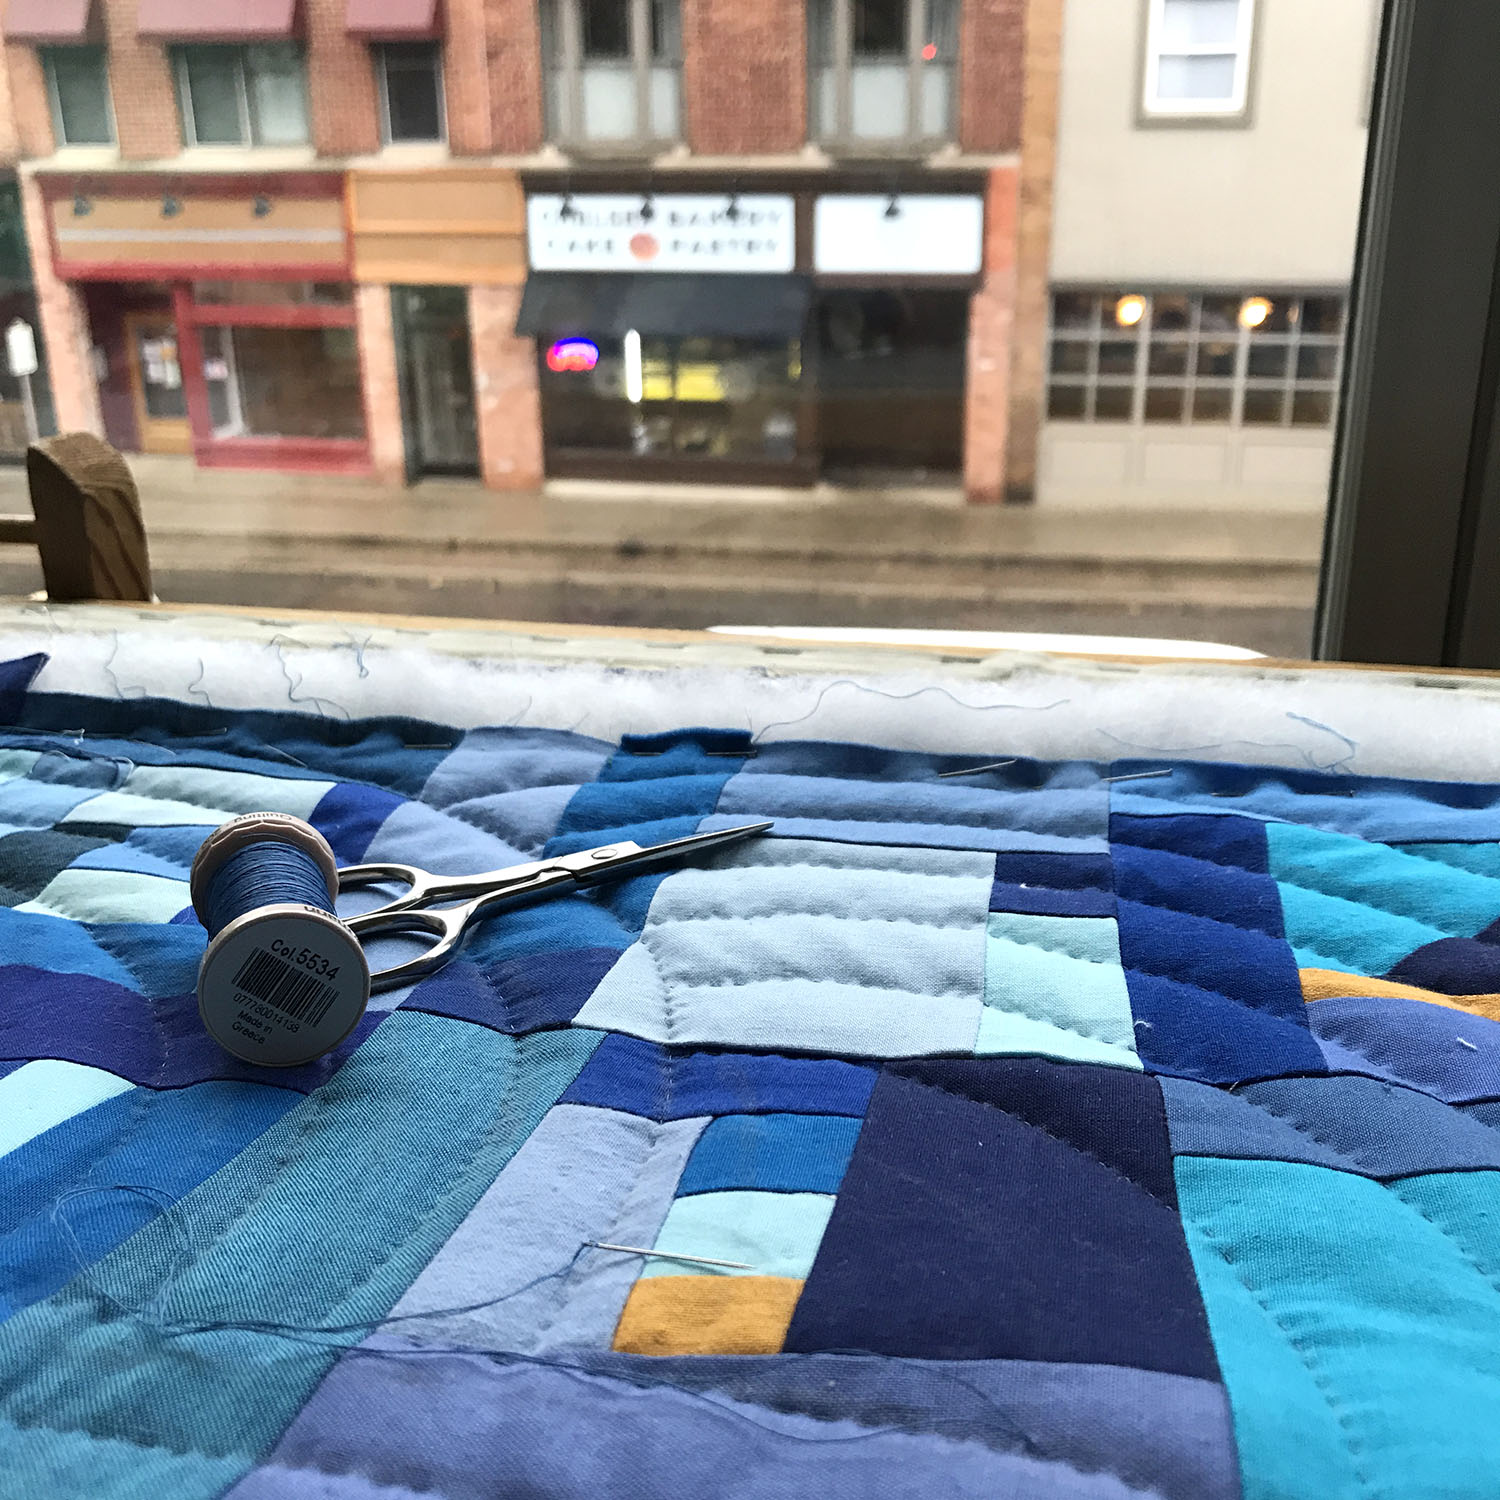
Gutterman Quilting Thread - my thread of choice for hand quilting. It is strong and has a finish that makes it easy to thread through the needle and pull through the fabric. I love the look of the stitches is creates.
Roxanne Betweens - I use size 10 betweens by Roxanne. They are strong and have an easy to thread eye and the tip works well for stacking stitches on the needle.
Roxanne marking pencil in white - this is the marking pencil I use for dark fabrics it rubs off easily.
Verithin Silver colored pencil - this pencil works well on light fabrics and rubs off easily.
Gingher Stork Scissors - I love these little scissors for snipping threads.
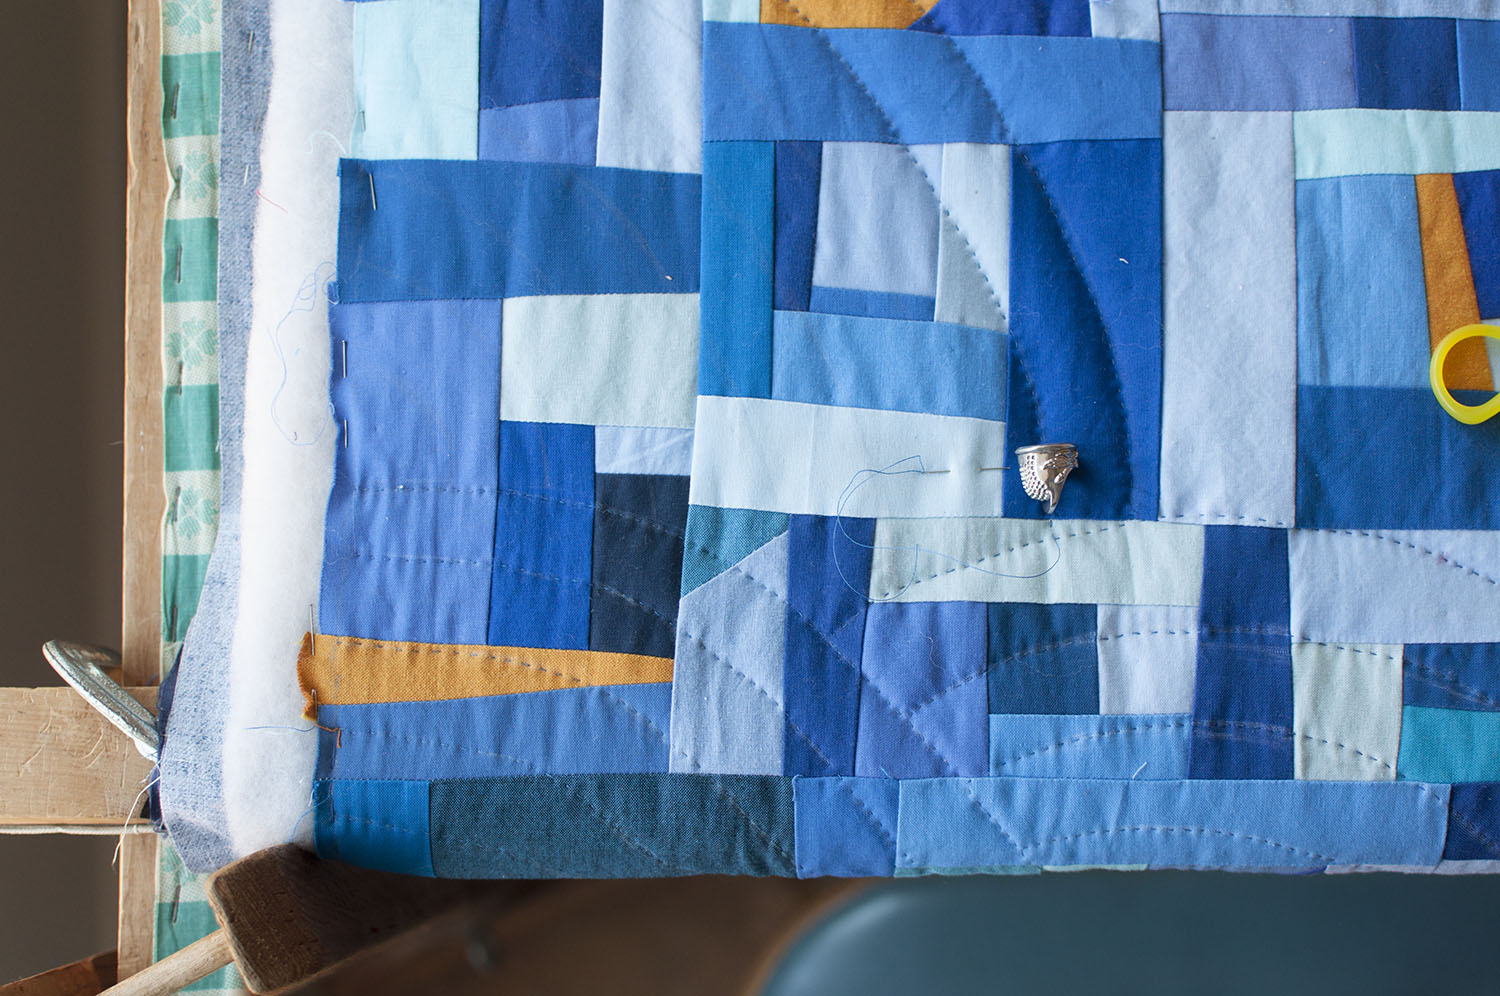
Thimble - I have had this thimble for more then 30 years. I've looked for another like it but without success. Here's one that is very similar. Make sure to find one that fits snug on your finger.
*links are affiliate links
Hand Quilting - a new adventure with an old friend
Back in September my friend and quilting mentor, Gwen Marston, gave me a most precious gift. Gwen is well, but said she's having a little bit of arthritis and needs to back off hand quilting. She is using her trusty old Singer machine for quilting her quilts now and has passed her quilting frame to me. She purchased the frame in the 1970s, and said this about it, "The legs that hold the quilting boards were made by the husbands of the Mennonite quilters that taught me to hand quilt and all of my quilts have gone through that frame since day one. In my work that frame was indispensable!" She said giving me her quilt frame is like The Changing of the Guard and so now it's my turn.
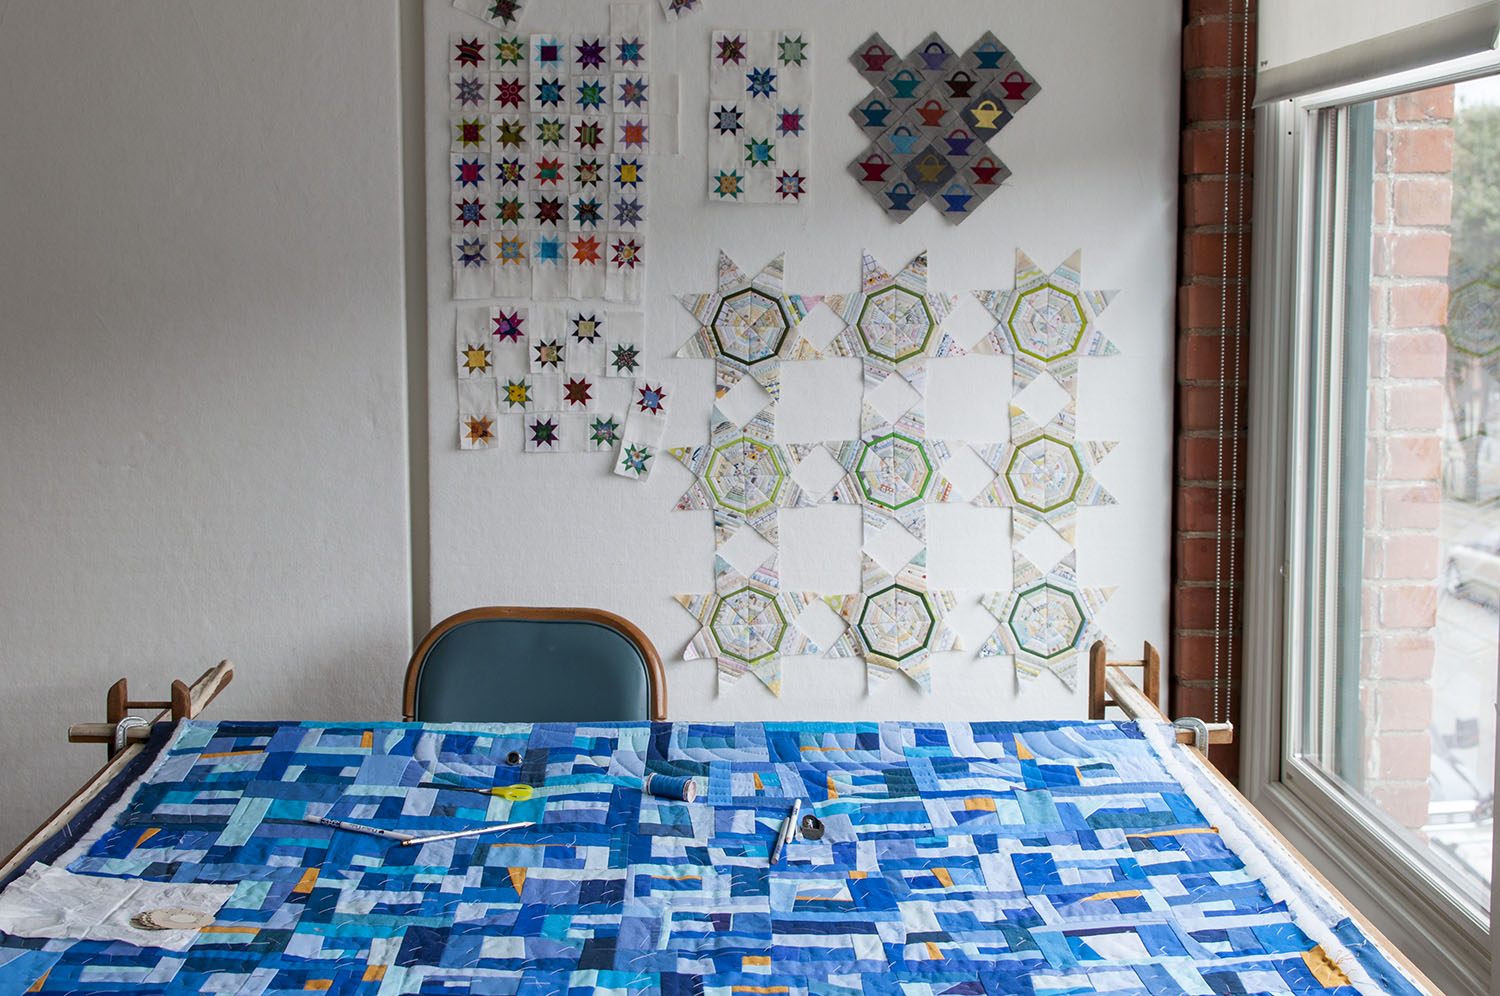
In this frame, the whole quilt is stretched flat between the boards. First the backing, then the batting, and the quilt top is layered and pinned on top.
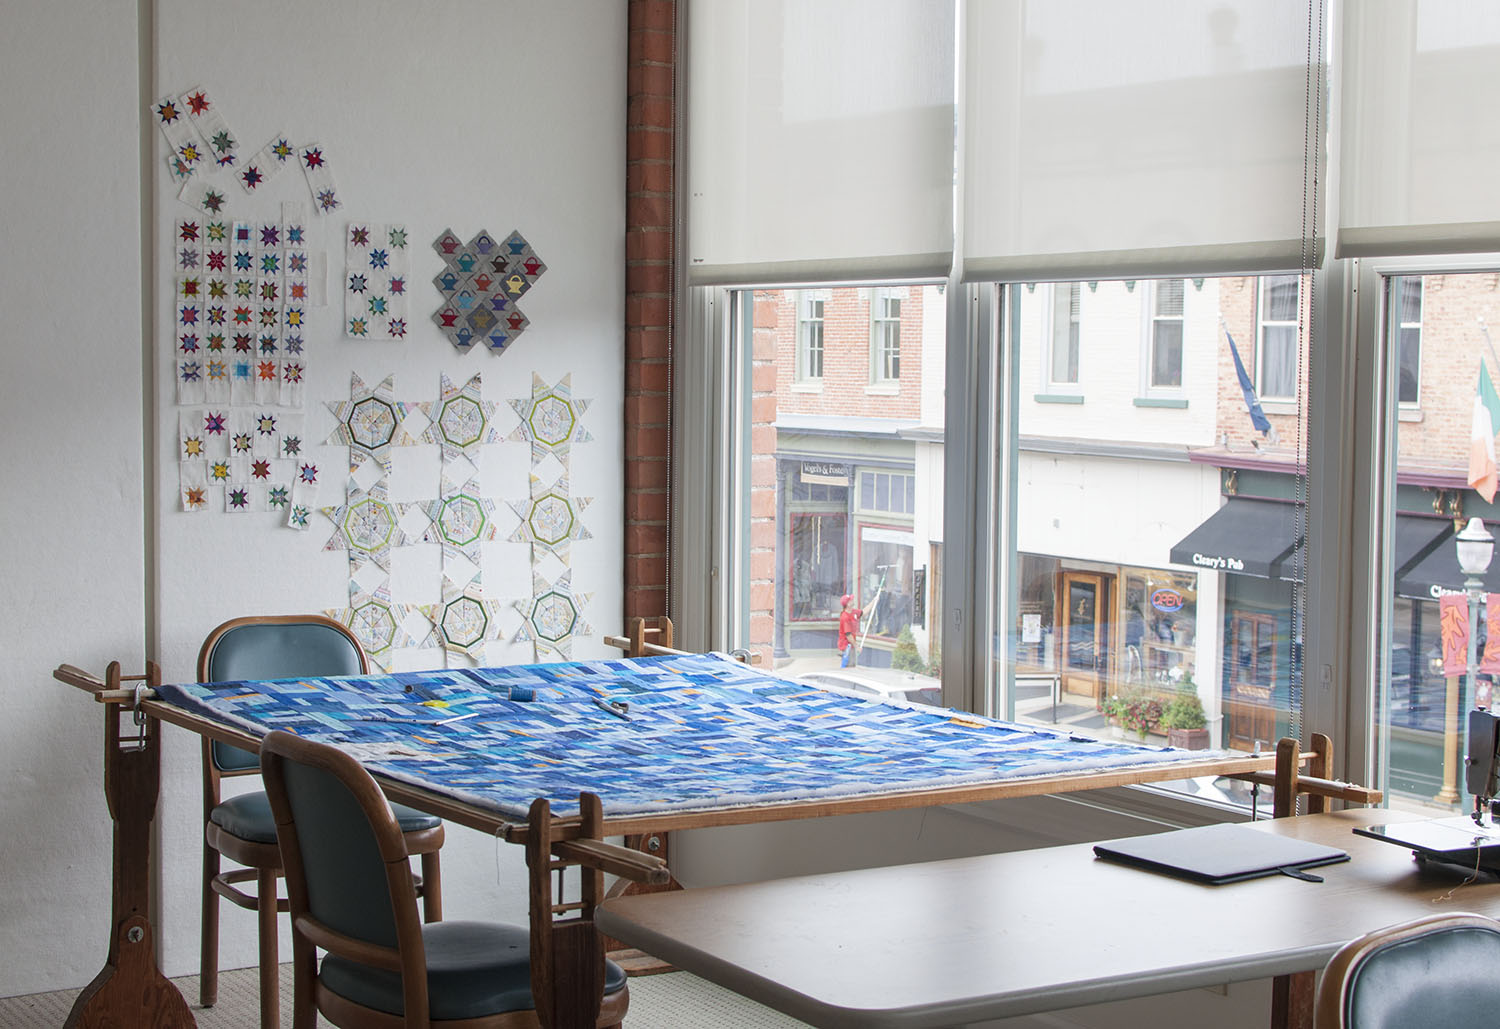
You quilt what you can reach from the edge and then roll the quilt on the end bar and reclamp it to stitch the next area.
As you quilt, the frame takes up less space in the room. The parts that you have quilted are hidden from view until the whole quilt is finished.
I quilted this quilt with free drawn fans and purposely wanted them to look unique and not like they were drawn with a template. As I was progressing on the quilt I feared that my repeated markings had gotten too even and I worried it would look too controlled. On the last few passes I really tried to make them look like fans but not all the same.

Unrolling the quilt for a full view was quite exciting! The quilt looks strangely tiny in this photo.

This is the first in what I hope will be many quilts stitched sitting at this frame. I love the slower pace of hand quilting. It allows me time to think about all the joys in my life, to plan family activities, and even ponder upcoming quilts. I also have been listening to recorded books while stitching.
Thank you, Gwen, for trusting me with this treasure.
Unconventional and Unexpected
Last week I started a quilt based on this one on page 35 of Roderick Kiracofe's Unconventional and Unexpected.
The original quilt is made with polyester double knit fabrics. I started with this selection of cotton fabrics from my stash and a few others added later and some thrift store shirts that were cut up.

The blocks alternate between plain and string pieced. I tried to keep the string pieced blocks looking "chunky" like the ones in the original quilt.


I started off with a "random" placement of the blocks.


I really wasn't thrilled with the layout I had so I went back to study the original. On closer study I noticed that the original quilt had like fabrics clumped together. My guess is that the quilt was made stitched together as the blocks were cut. When one fabric ran out another was started. I tried rearranging my blocks and was much happier with the result.


I have it all sewn together now and while I'm waiting to get king size batting I'm thinking about how I will quilt it.
(book link is an affiliate link.)
Fall Scenes

This morning we woke to grey skies and snow flurries.

Here are a few photos I took on a warmer and sunnier day this fall.

Open House
I'm having an open house in my studio, 10-6, on November 11 as part of Chelsea's Wine, Women, and Shopping event.
Wendy from Stipples, Etc will also be in the studio selling her beautiful hand dyed fabrics. I hope you can stop by.
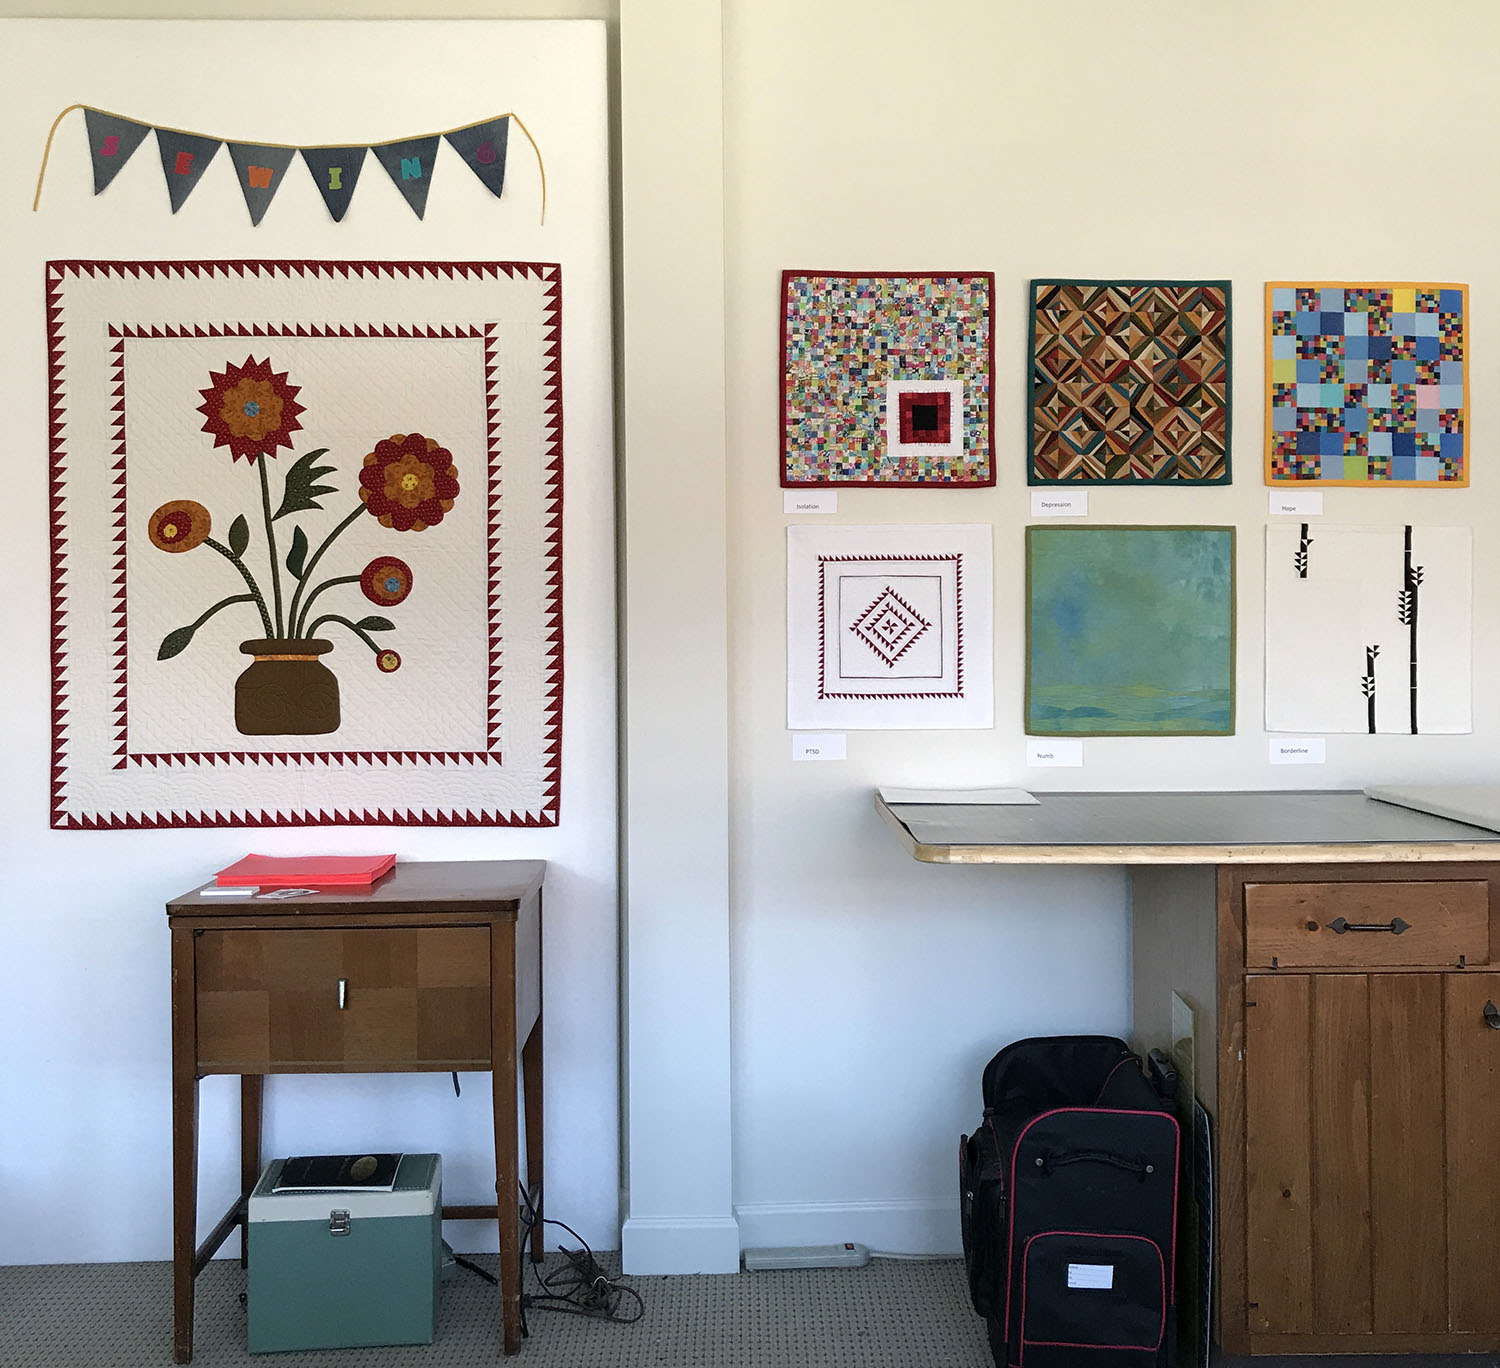
Old School Sewing Workshop
Last week six students attended a three day workshop in my local studio.

It was great fun! All students sewed on featherweights, a couple brought their own, the rest used mine. We learned a lot about sewing small.
I also did a little featherweight maintenance lesson.
It was lovely to have talented quilters sewing away in the studio. I hope I can host another one soon. Let me know if you and some friends are interested.
A Cosplay Trip Down Memory Lane
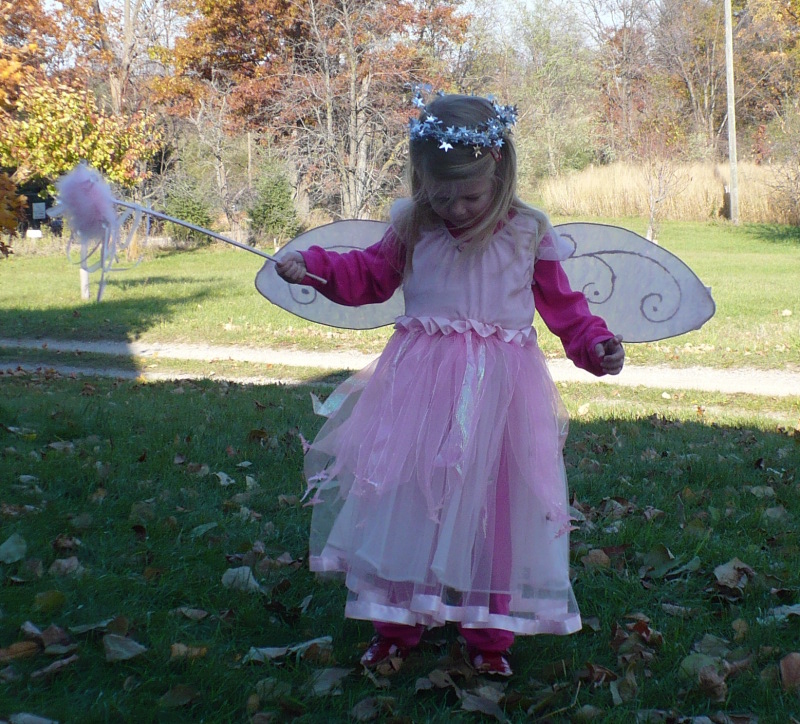
2008 fairy read more

2009 fairy

2010 fairy

2011 fairy

2012 Elf read more

2013 Colonial Dress read more
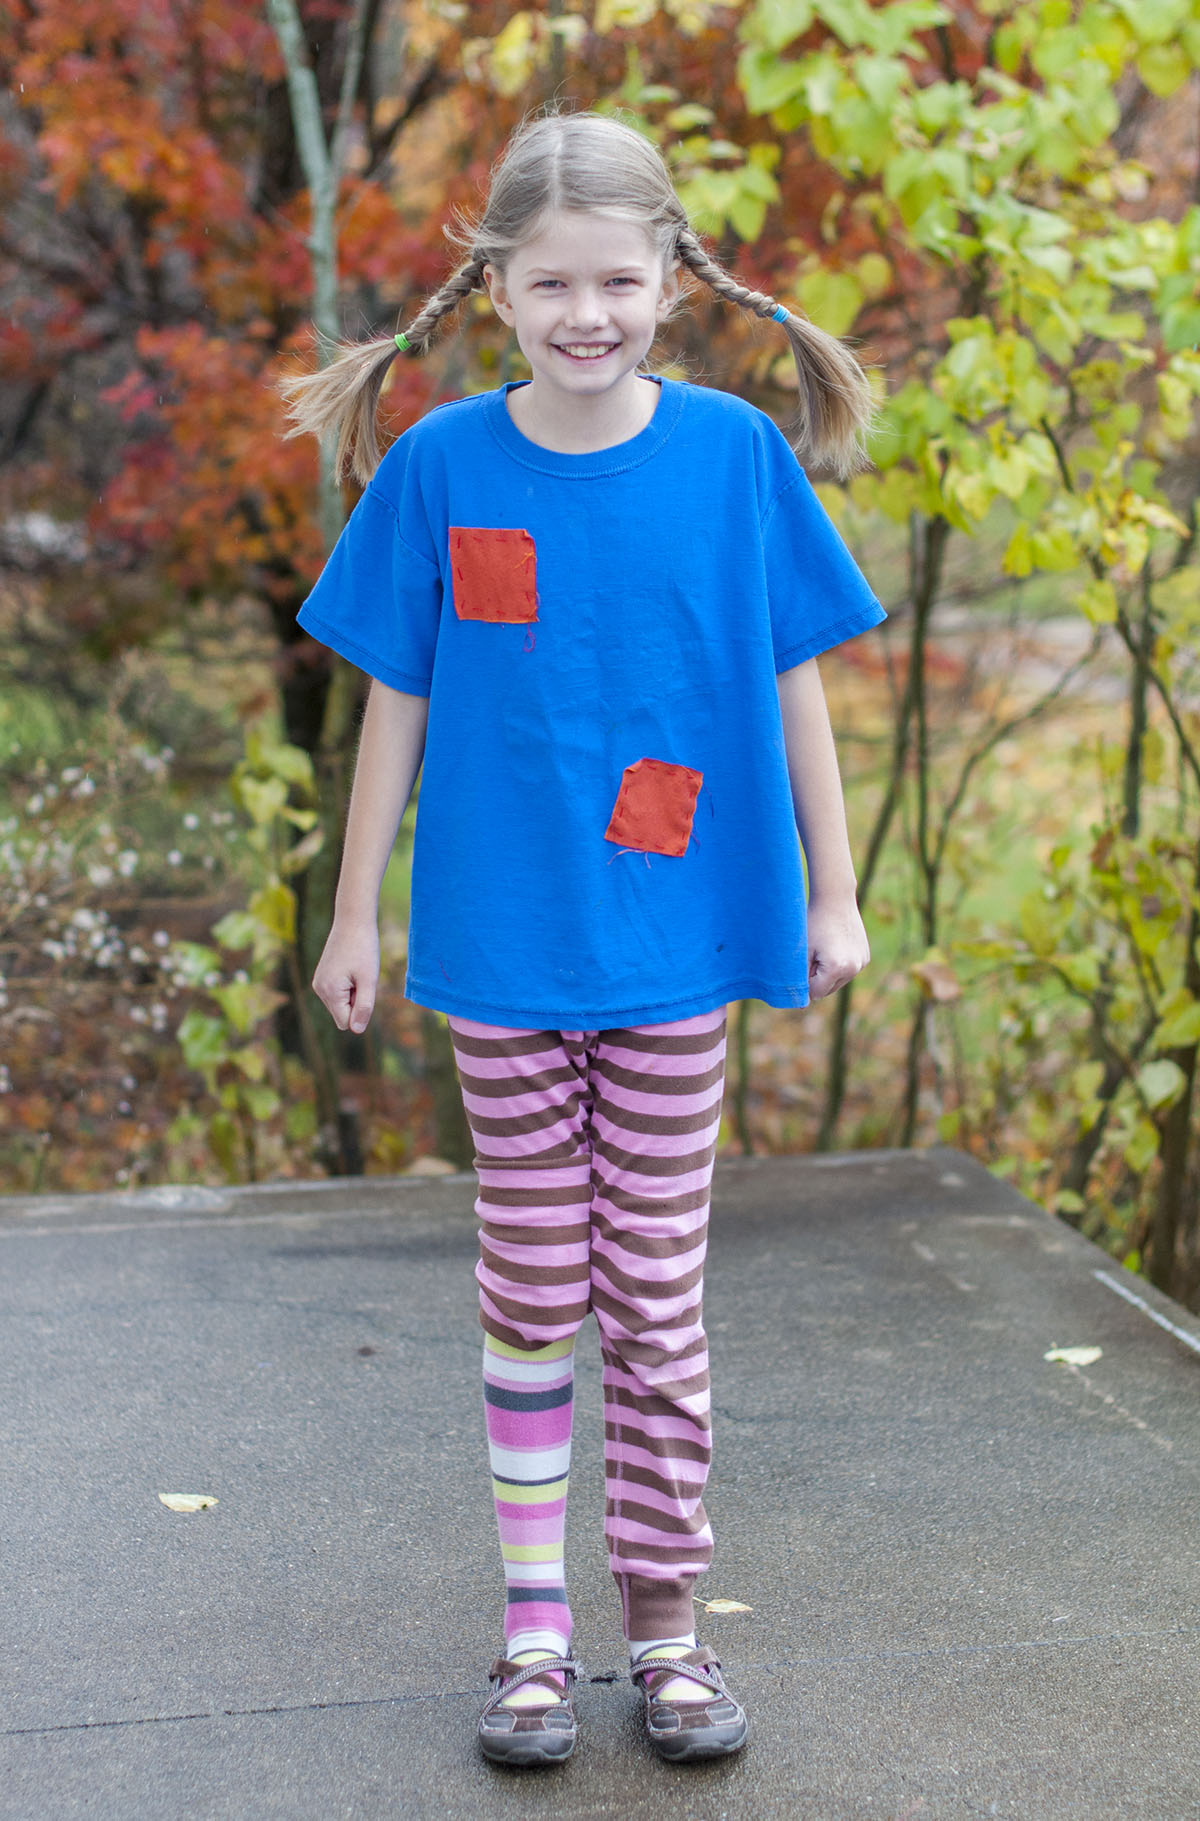
2014 Pippi Longstocking

2015 The Cat in the Hat

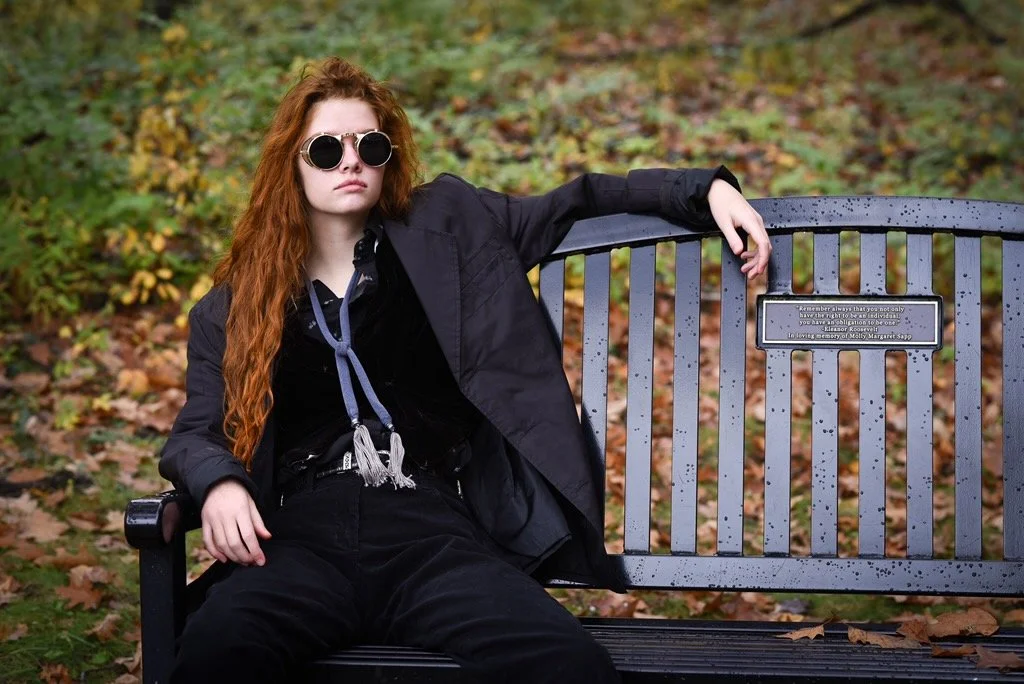
2017 Wonder Woman read more

2018 Rey read more

2019 Admiral Holdo read more

2021 Peggy, Agent Carter
2022 Max
2023 Crowley
(edited to add most recent costumes and links to original blog posts)
Wonder Woman Cosplay
Miss P and I saw Wonder Woman two times this summer. We both loved it and enjoyed the strong female leading character. After the second trip to theater she knew she wanted to be Wonder Woman for Halloween.
We did some google searching for ideas and found Methyl Ethyl Cosplay on Facebook.
We followed her tutorial to make the corset.
The first step was to make a duct tape mold of her body.
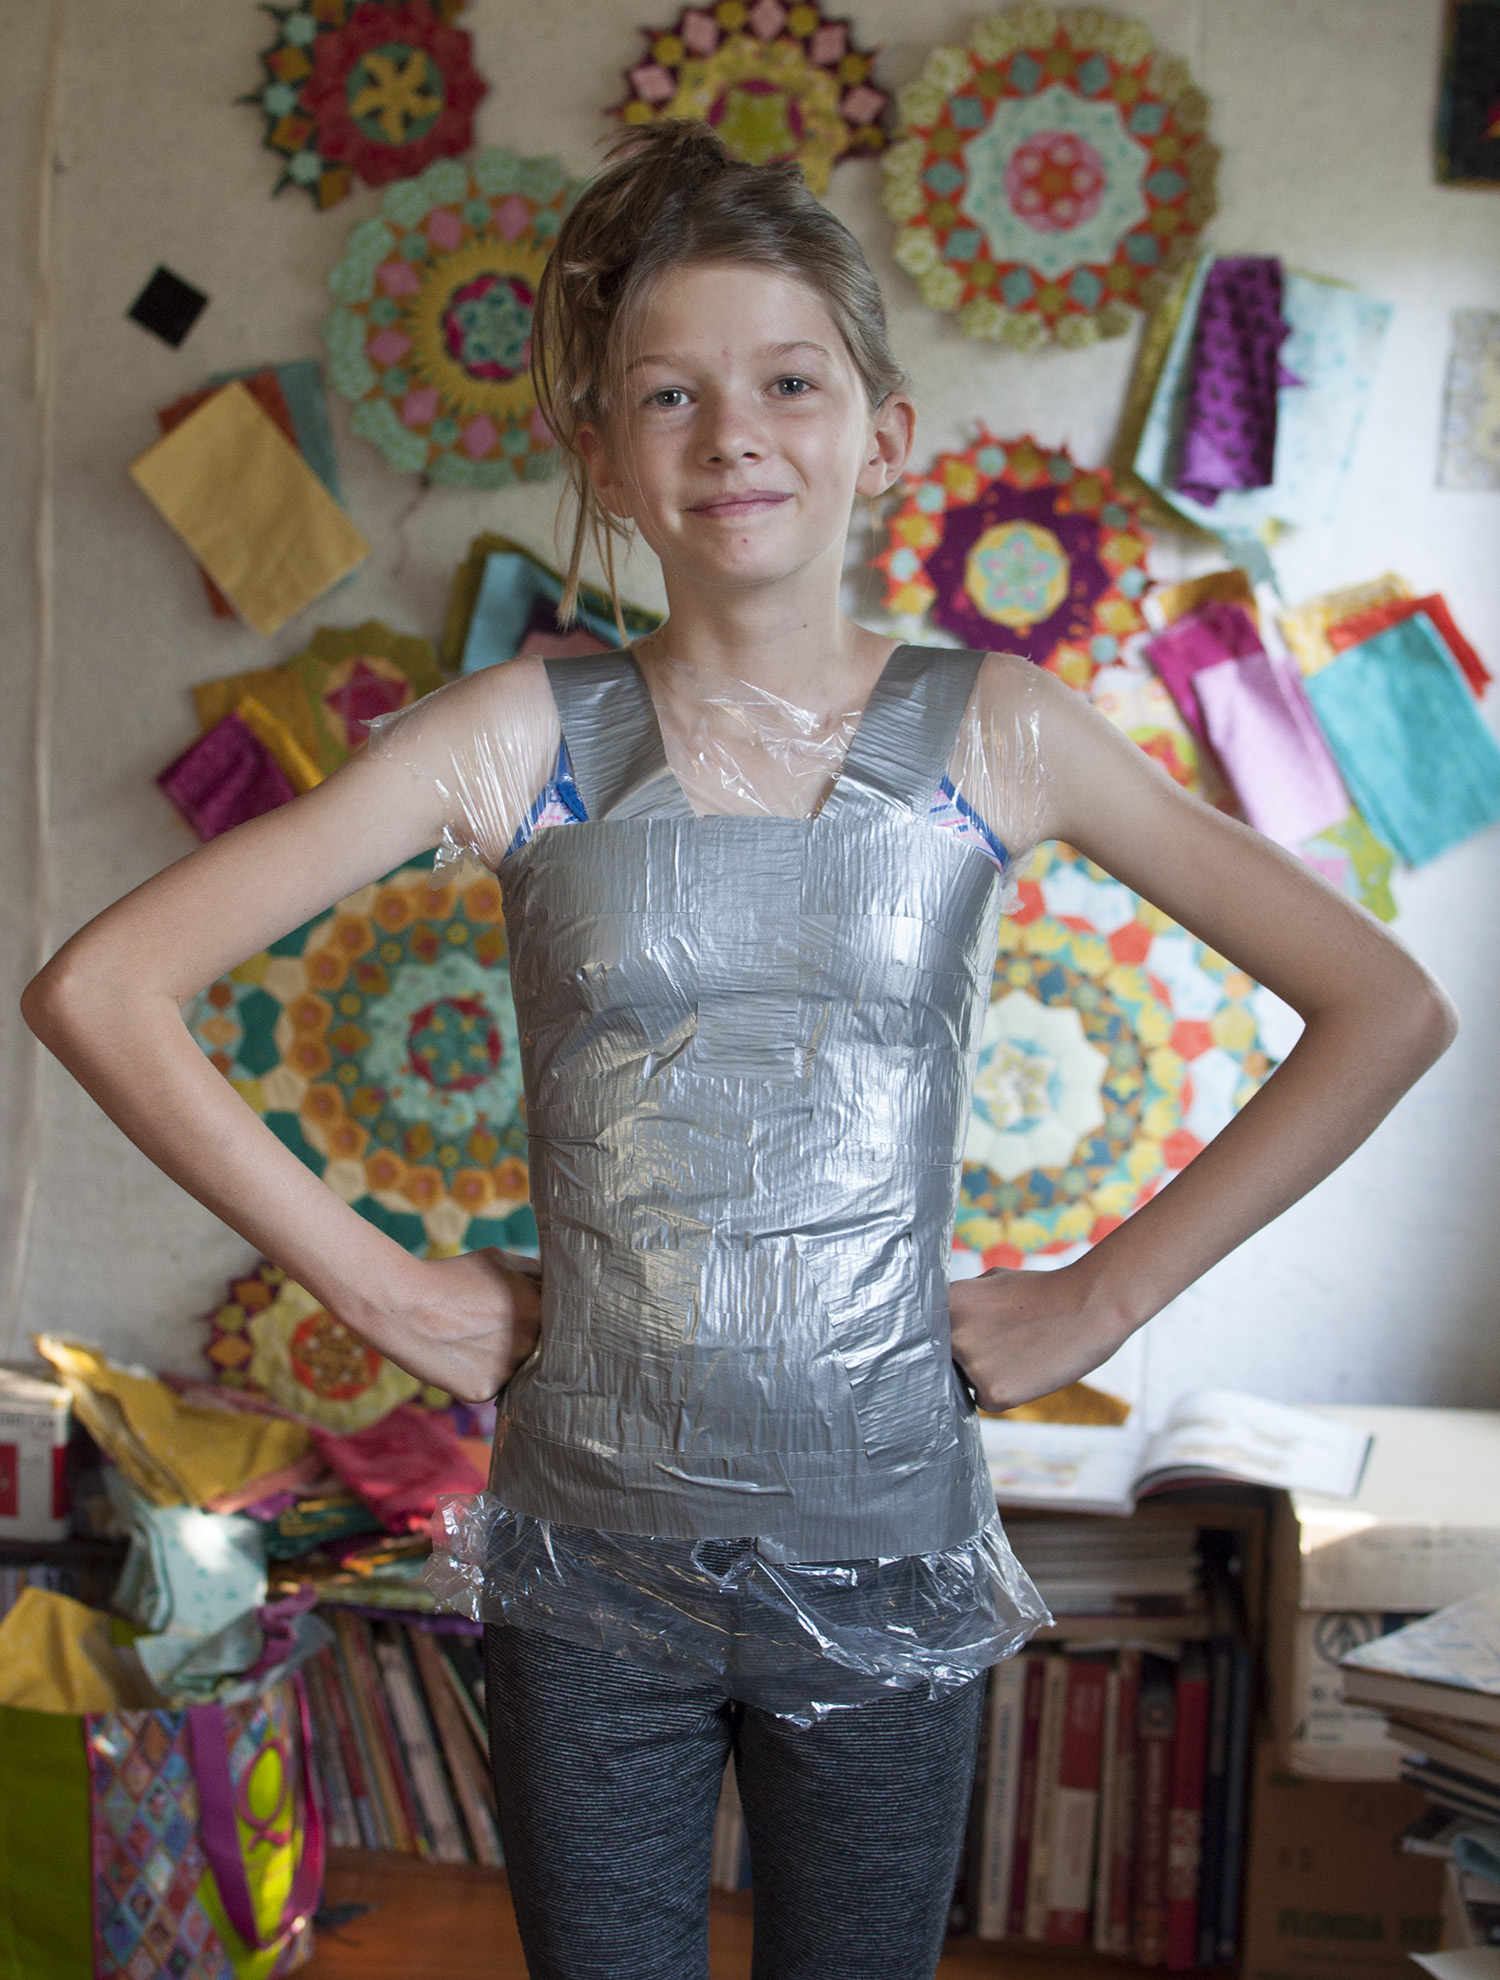
We then cut the duct tape shape apart into flat pieces that could be used as a pattern. We used the pieces from one half and made left and right versions from them so that the design would be symmetrical.

The corset was made from craft foam. After making a base layer, P designed the second layer that was made of smaller pieces.
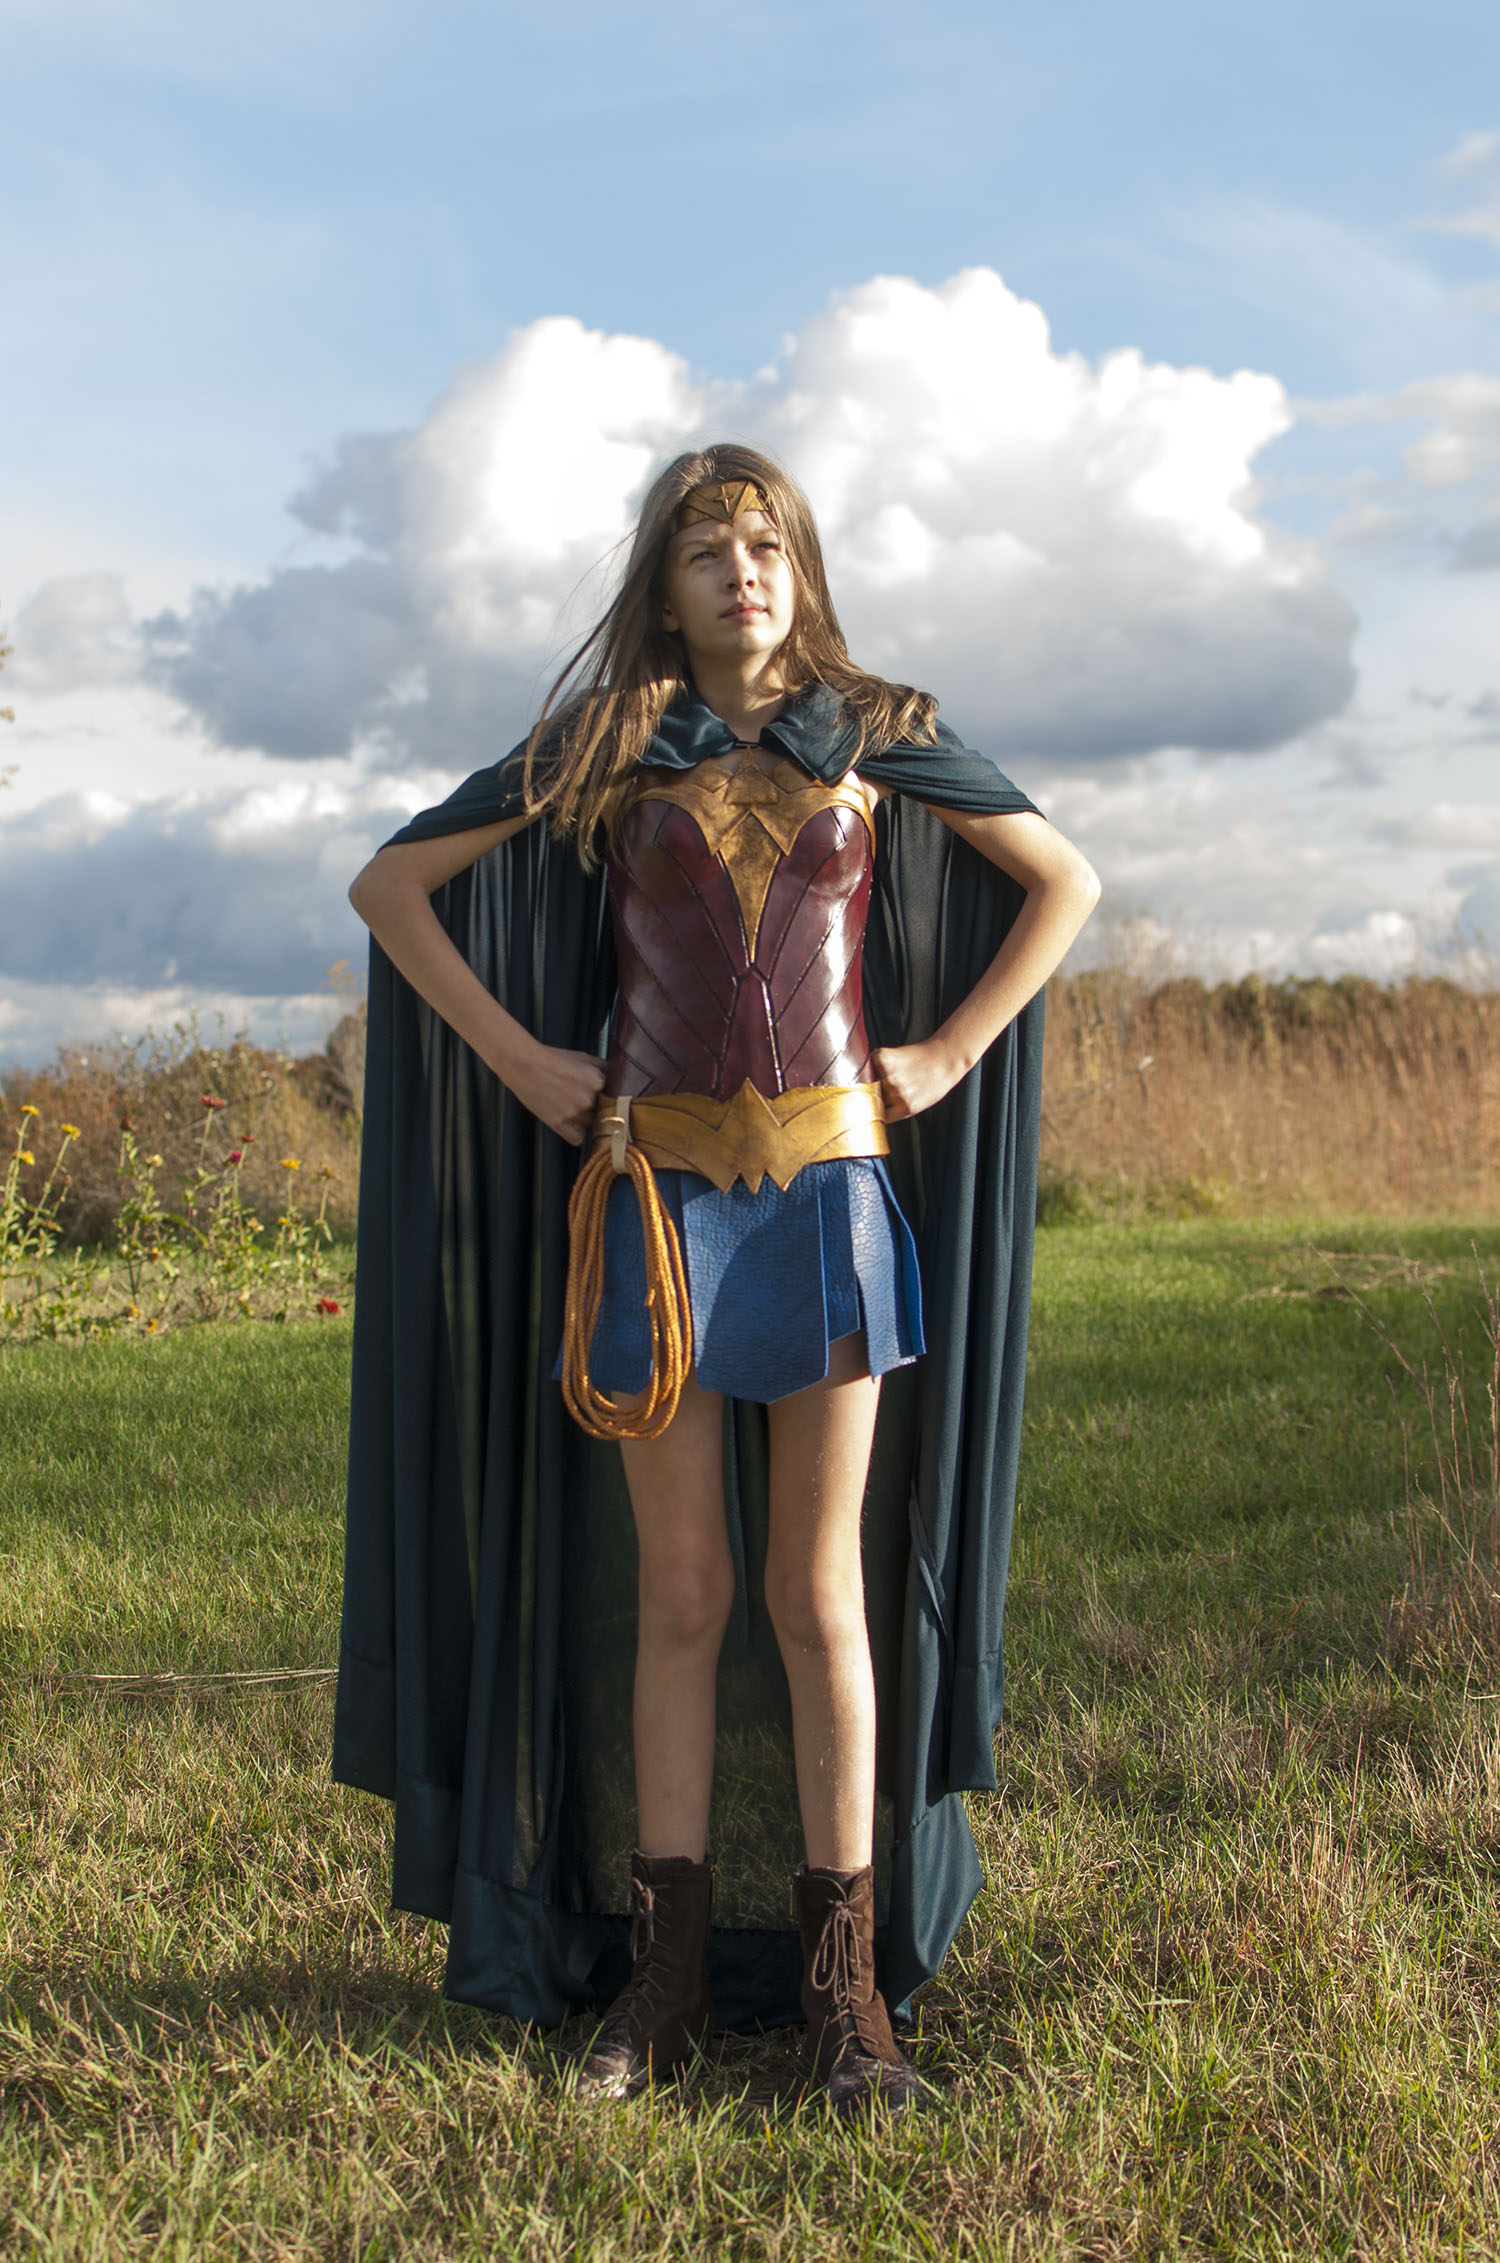
We followed the steps in the tutorial for shaping with a heat gun, and sealing, painting, and coating with various products. I used leather from a pair of thrifted leather pants for the base of the corset lacing in the back.

The belt and headband are also made from craft foam.
I purchased scraps of blue leather on etsy for the skirt. I cut shaped pieces and sewed them to a strip of grossgrain ribbon the leather was also painted with diluted black paint to make it look aged. The ribbon is pinned around the waist and worn over black dance pants.
For the cape, we used the Kinsale Cloak pattern by Folkwear.
The Lasso of Truth is an ordinary rope painted gold.
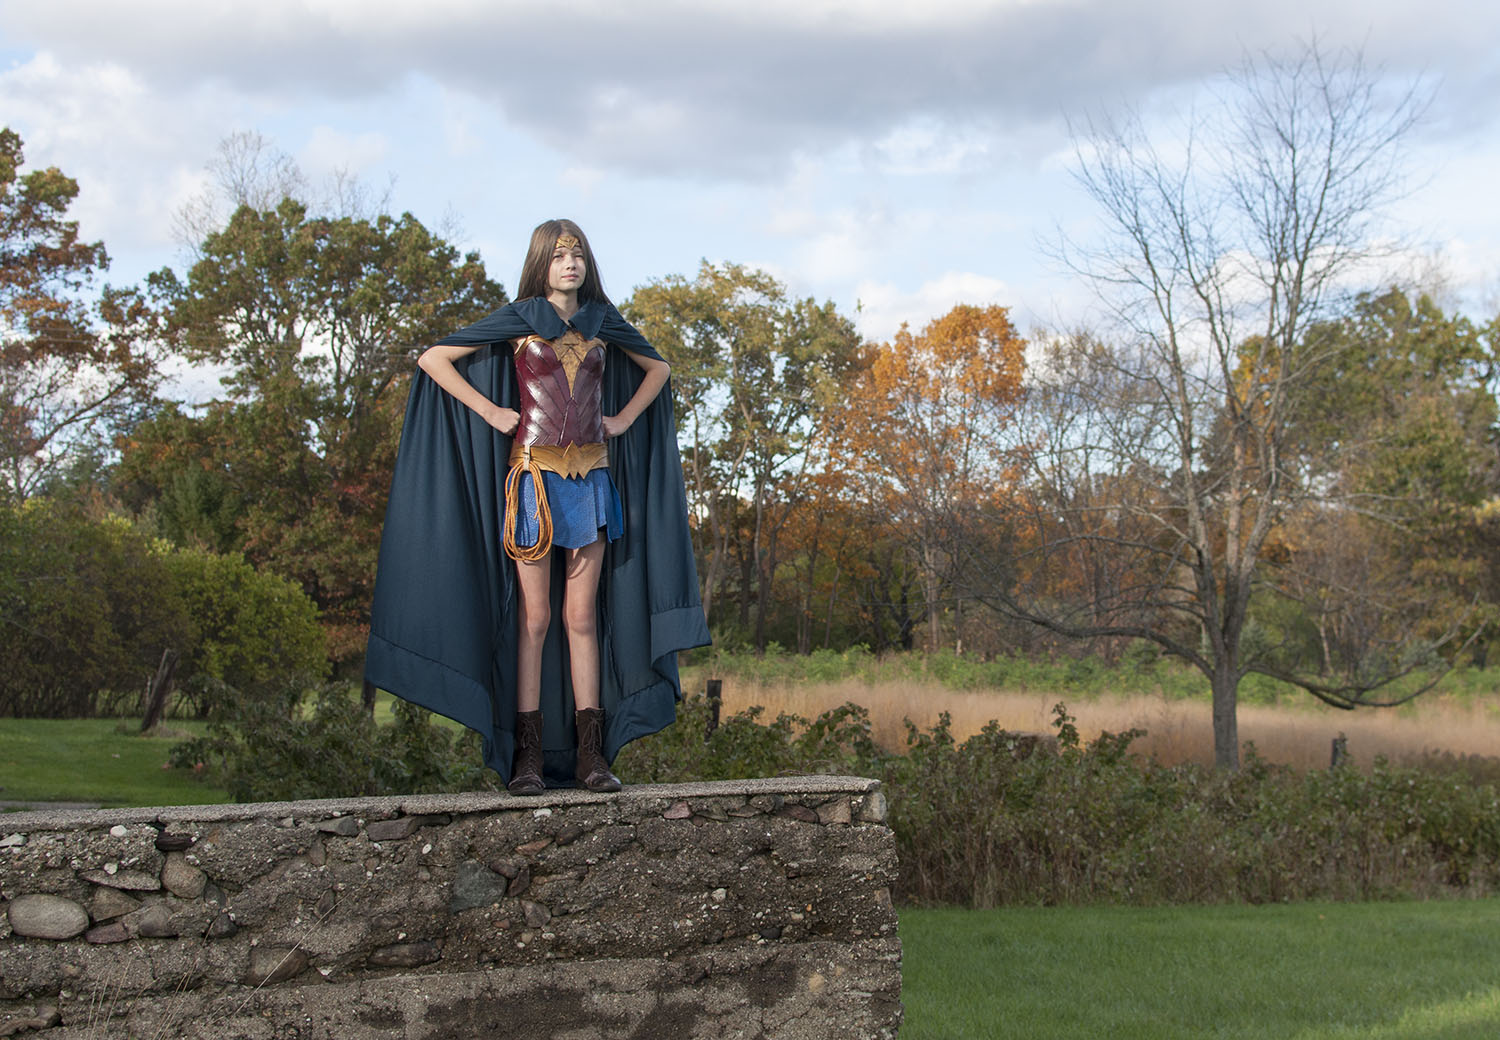
Miss P is THRILLED with the result and is sad that there aren't more occasions when she can wear the outfit.